
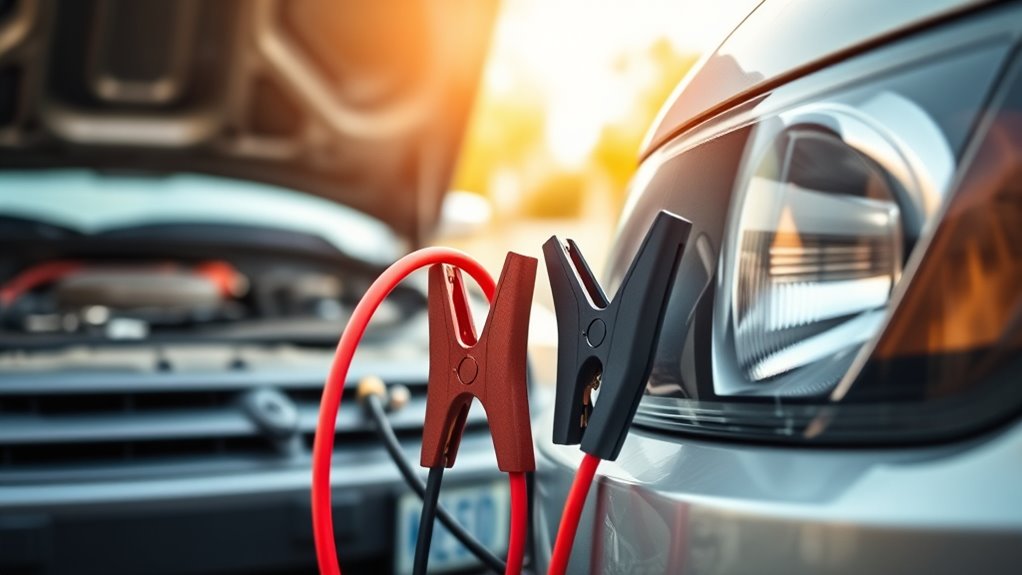
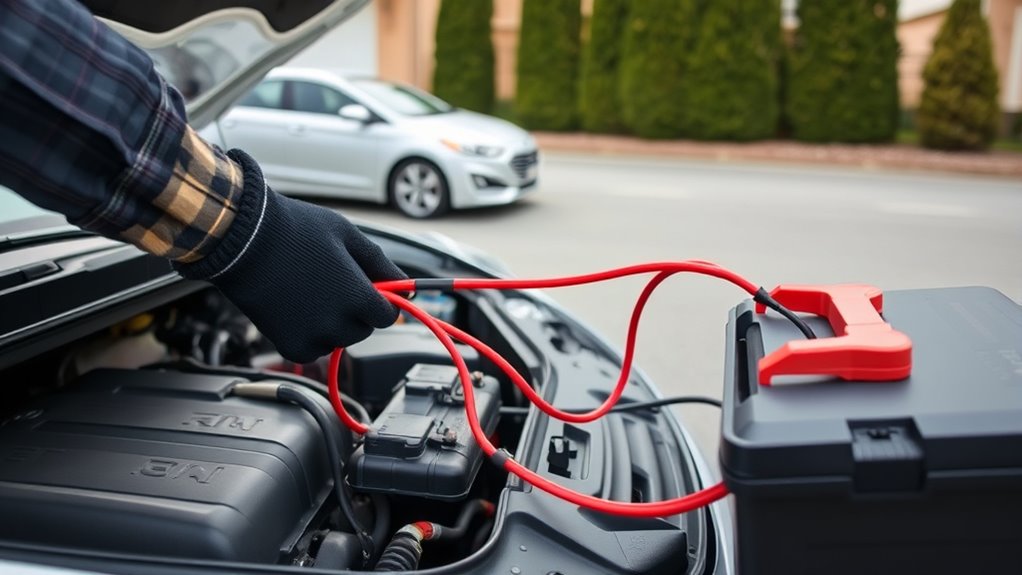
To jump-start your car safely, start by inspecting your cables for damage and confirming your battery terminals are clean. Connect the cables in the correct order: positive to positive, then negative to a grounded metal surface away from the battery. Avoid reversing polarity or touching clamps together. Keep the donor vehicle running and let your car charge for at least 20 minutes before disconnecting. Following these tips helps prevent damage and guarantees a safe, successful jump. If you want to avoid common mistakes, keep going.
Key Takeaways
- Always verify correct polarity and connect positive to positive, negative to a grounded metal surface, not directly to the dead battery.
- Ensure both vehicles are off and on a level surface before connecting jumper cables.
- Attach jumper cables in the proper sequence: positive first, then negative, and remove in reverse order after the engine starts.
- Avoid letting clamps touch each other or other metal parts during connection to prevent sparks or damage.
- Keep the booster vehicle running for at least 20 minutes after jump-starting to recharge the dead battery properly.
Energizer Jumper Cables for Car Battery, Heavy Duty Automotive Booster Cables for Jump Starting Dead or Weak Batteries with Carrying Bag Included (16-Feet (6-Gauge)
ENERGIZER 16 FEET JUMPER CABLES – 6 Gauge, 16 FT booster battery jumper cables for jump starting a…
As an affiliate, we earn on qualifying purchases.
As an affiliate, we earn on qualifying purchases.
Preparing Your Equipment Safely

Before you attempt to jump-start your car, it’s essential to prepare your equipment safely. Start by inspecting your jumper cables for any damage or corrosion, confirming they’re in good condition. Proper battery maintenance can prevent future issues, so check the battery terminals for corrosion and clean them if needed. Keep a set of emergency preparedness items, like gloves and safety glasses, nearby in case you need them. Verify that your car’s battery is compatible with the jumper cables and that the working vehicle has a fully charged battery. Having everything ready minimizes risks during the process and helps avoid accidents. Additionally, understanding the contrast ratio of your vehicle’s battery and electrical system can help in assessing its health and compatibility. Taking these safety precautions ensures you’re prepared, reducing the chances of mishaps and making the jump-start smoother and safer. Being aware of free floating electrical issues can also help prevent unexpected complications during the process. Familiarizing yourself with battery health indicators can further improve your safety and success rate during jump-starting. Regularly checking the electrical system can help identify potential problems before they become serious. In addition, consulting your vehicle’s owner’s manual can provide specific guidelines for your model, ensuring you follow the safest procedures.
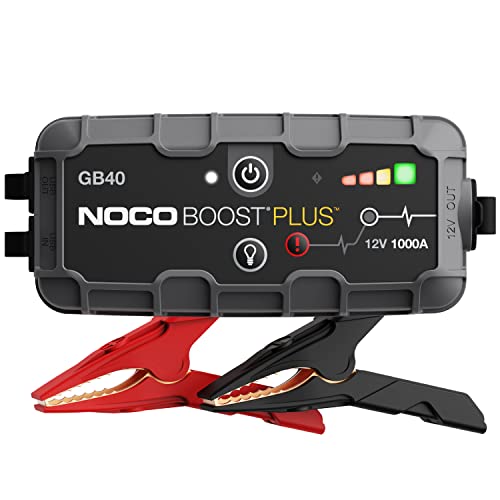
NOCO Boost GB40: 1000A UltraSafe Jump Starter – 12V Lithium Battery Booster Pack, Portable Jump Box, Power Bank & Jumper Cables – for 6.0L Gas and 3.0L Diesel Engines
START DEAD BATTERIES — Instantly start dead batteries with 1000 amps of peak lithium power. Up to 20…
As an affiliate, we earn on qualifying purchases.
As an affiliate, we earn on qualifying purchases.
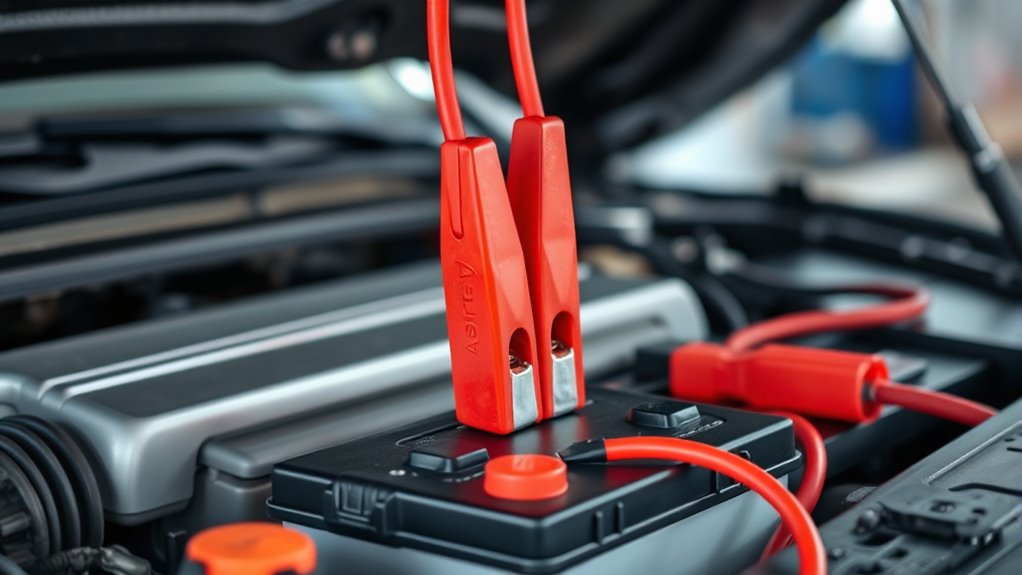
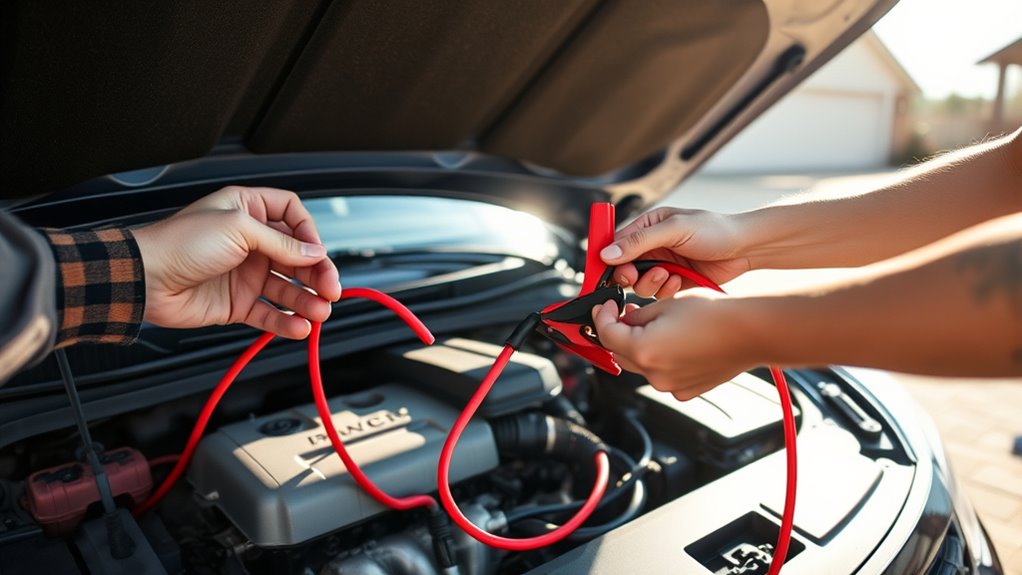
Correctly Connecting the Jumper Cables
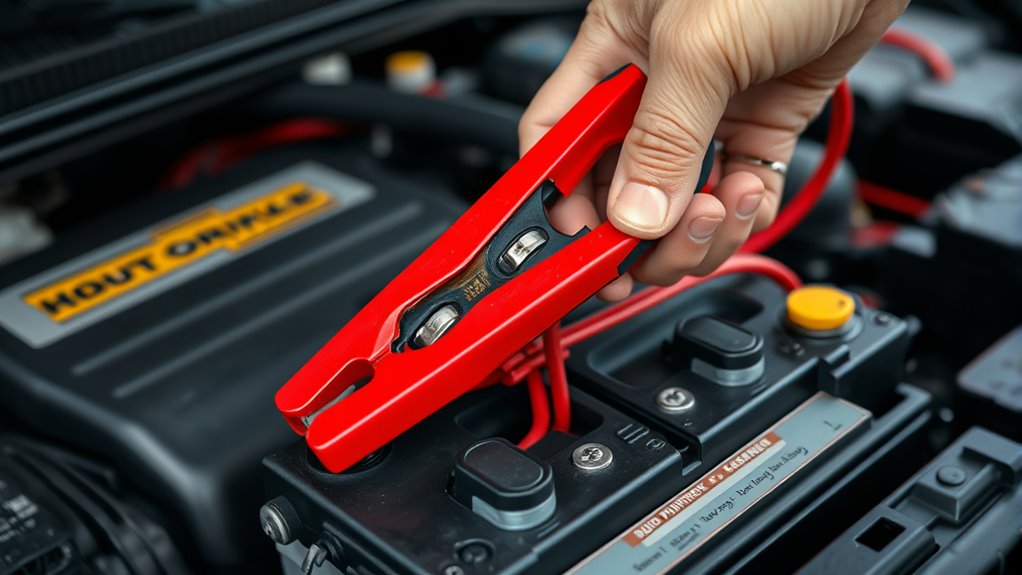
To guarantee a safe jump-start, you need to connect the cables correctly, starting with proper placement. Make sure the positive clamp attaches to the positive terminals on both batteries, and the negative clamp connects to a solid, unpainted metal surface on the car with the dead battery. Double-check the polarity before proceeding to avoid damaging either vehicle. Be aware that incorrect connections can cause sparks or damage, so always verify the correct wiring procedure. Additionally, understanding the European cloud infrastructure can help ensure your vehicle’s electronic systems remain protected during the process. Proper knowledge of car electrical systems can also prevent accidental mishaps during the jump-start.
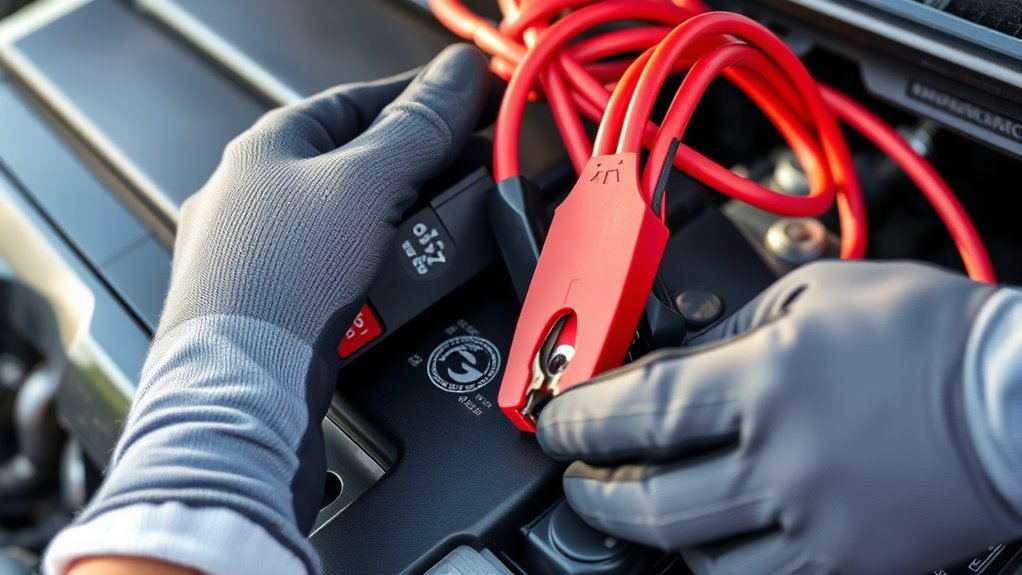
Proper Cable Placement
Proper cable placement is essential to guarantee a safe and effective jump-start. Start by connecting the cables in the correct order, making sure the clamps are firmly attached to the battery terminals. Before you begin, check that your vehicle’s spark plug maintenance is up to date, since a well-maintained engine runs more smoothly. Also, ensure your tires have proper pressure checks to prevent any unexpected issues once the engine is running. When placing the cables, avoid letting the clamps touch each other or other metal parts, which can cause sparks or damage. Position the cables so they don’t interfere with moving parts. Proper placement minimizes risks, protects your vehicle’s electrical system, and ensures a quick, safe jump-start every time.
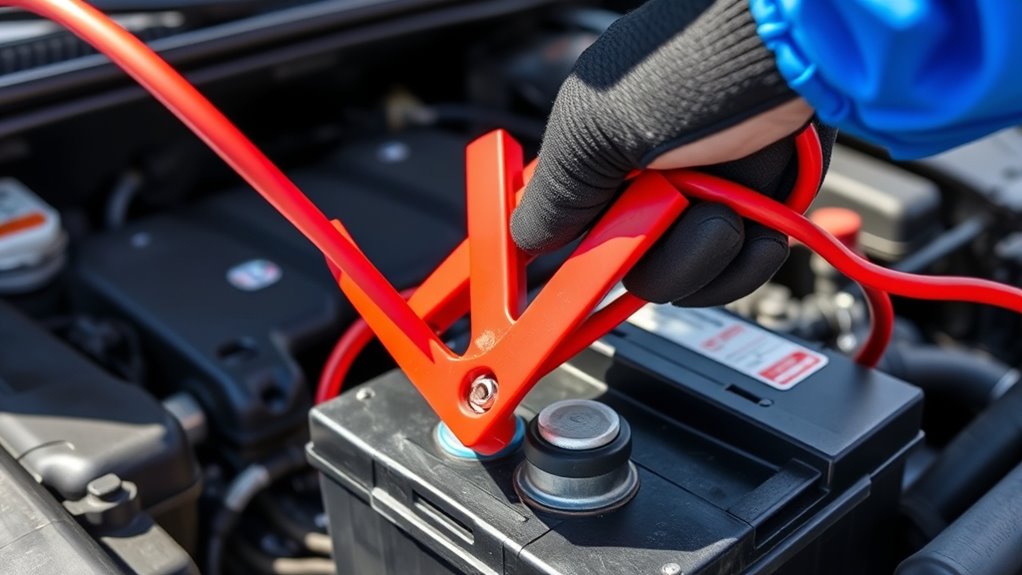
Correct Polarity Connection
Ensuring the jumper cables are connected with the correct polarity is crucial for safety and effectiveness. Incorrect connections can cause sparks, damage your battery, or even harm your vehicle’s electrical system. Always identify the positive (+) and negative (–) terminals on both batteries before attaching jumper cables. Use the appropriate jumper cable types for your situation—thicker cables for higher amperage or longer distances. To avoid mistakes, follow this simple guide:
| Step | Action | |
|---|---|---|
| 1 | Connect the red clamp to the positive terminal (+) on both batteries. | |
| 2 | Attach the black clamp to the negative terminal (–) on the donor car. | |
| 3 | Attach the other black clamp to an unpainted metal surface on your car. | |
| 4 | Double-check connections before starting the jump. | Proper polarity connection promotes better battery maintenance and safer jump-starts. Additionally, understanding vehicle electrical systems can help prevent accidental damage during the process, especially since incorrect wiring can lead to short circuits. Proper knowledge of electric power and how it interacts with vehicle components can further improve safety during jump-start procedures. Being aware of battery management techniques can also help extend the lifespan of your vehicle’s batteries. |

TKDMR Battery Terminal Cleaners (2 pcs),12 pcs Battery Terminal Anti-Corrosion Fiber Washers (6 Red & 6 Green) for Car Marine Battery
Quantity: comes with 10 pieces battery anti-corrosion washers(5 red & 5 green) and 2pcs Battery Terminal Cleaning Brush.
As an affiliate, we earn on qualifying purchases.
As an affiliate, we earn on qualifying purchases.
Avoiding Common Connection Mistakes
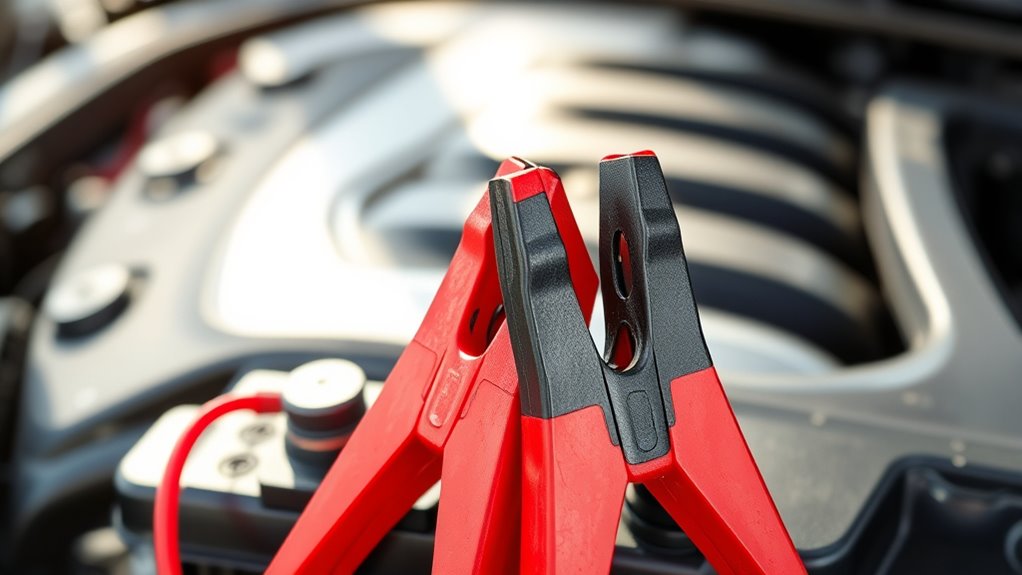
Connecting the jumper cables correctly is essential to avoid damaging your vehicle or causing injury. One common mistake is mixing up the clamps, which can lead to sparks or electrical damage. Always double-check the polarity and ensure the clamps are attached securely. Using proper troubleshooting techniques, like testing the cables and battery connections before starting, helps prevent errors. Avoid touching the clamps together or letting them contact metal surfaces after connection, as this can cause short circuits. Being prepared with the right tools and knowledge is part of emergency preparedness, reducing stress during a stressful situation. Take your time to verify each step, and don’t rush. Proper connection techniques protect both your vehicle and your safety, making jump-starting a smoother, safer process. Additionally, understanding battery health and maintenance can help prevent future issues and ensure your vehicle starts reliably. Regularly inspecting your battery and understanding signs of battery deterioration can extend its lifespan and save you time and trouble in the long run. Familiarizing yourself with proper jump-start procedures can further enhance safety and efficiency during emergencies. Moreover, being aware of common connection mistakes can help you troubleshoot issues quickly if something doesn’t go as planned.
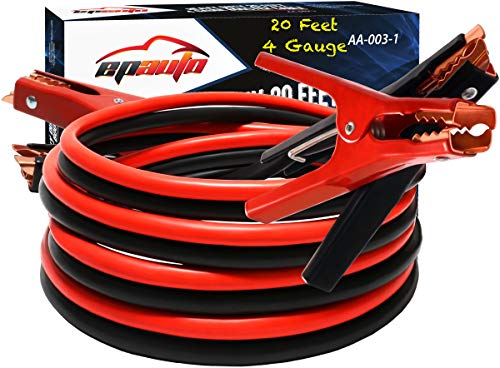
EPAuto 4 Gauge x 20 Ft Heavy Duty Jumper Cables for Car & SUV Emergency Battery Booster Kit with Safety Gloves & Travel Bag (Safe Jump Start for Dead Batteries)
HEAVY DUTY 4 GAUGE JUMPER CABLES: These 4 AWG booster cables provide superior current flow compared to lighter…
As an affiliate, we earn on qualifying purchases.
As an affiliate, we earn on qualifying purchases.
Ensuring Proper Battery Conditions

Before attempting a jump start, make sure your battery is in good shape. Check the voltage with a multimeter, inspect the terminals for corrosion, and consider how old the battery is. Addressing these points helps guarantee your battery is reliable enough to start your car safely. Additionally, ensuring the battery has proper sound quality and levels can help prevent issues during the jump-start process. Checking the battery health with specialized tools can also provide a more accurate assessment of its condition. Being aware of market trends and insights can help you stay informed about potential battery recalls or issues affecting vehicle electronics. Regular maintenance and monitoring of battery performance can further extend its lifespan and reliability. Moreover, understanding flushing mechanisms can be useful if you’re dealing with related car electronics or systems that depend on proper fluid management.
Check Battery Voltage
To check if your battery is in good shape, start by measuring its voltage with a multimeter. Proper voltage measurement helps assess battery health and guarantees it can handle the jump-start. A healthy car battery should read around 12.6 volts when the engine is off. If it drops below 12.4 volts, your battery may need charging or replacement. Use the table below to interpret your readings:
| Voltage Reading | Battery Condition |
|---|---|
| 12.6V or higher | Good battery health |
| 12.4V – 12.6V | Fair, consider recharging |
| Below 12.4V | Poor, likely needs replacement |
Regular voltage measurement can prevent surprises and confirm your battery’s readiness for jump-start. Additionally, monitoring your battery’s voltage over time can help identify gradual declines in performance before issues arise. Keeping an eye on battery maintenance practices can further extend your battery’s lifespan and reliability. Performing regular checks can also help you stay ahead of potential problems and ensure your vehicle’s dependability.
Inspect Battery Terminals
Inspecting your battery terminals is a crucial step to guarantee your car starts reliably. You should check for corrosion buildup around the terminals, which can hinder electrical flow and cause starting issues. Look for loose connections, as even slightly loose terminals can prevent the battery from delivering power efficiently. Tighten any loose cables securely, but avoid over-tightening, which could damage the terminals. Clean off any corrosion with a wire brush or a mixture of baking soda and water to restore proper contact. Ensure the terminals are free from dirt, grease, and corrosion, and double-check that the connections are snug. Properly maintained terminals improve battery performance and reduce the risk of unexpected breakdowns. Regular inspection keeps your car reliable and ready to start whenever you need it.
Test Battery Age
Knowing the age of your car’s battery is essential because batteries have a limited lifespan and degrade over time. As your battery ages, the risk of age-related failure increases, making it less reliable for jump-starts. To assess whether your battery is still good, check its age and consider how long it’s been in use. Typically, a battery’s lifespan is around 3-5 years, depending on conditions. Use this table to evaluate your battery’s status:
| Battery Age | Potential Issue | Action Needed |
|---|---|---|
| 0-2 years | Usually reliable | Regular checks |
| 3-4 years | Possible decline | Test voltage and capacity |
| 5+ years | Higher risk of failure | Consider replacement |
Keeping track of your battery’s age helps prevent unexpected failures during jump-starts.
Starting the Donor Vehicle Properly
Before you connect the jumper cables, make sure the donor vehicle is turned off and parked on a level surface. Properly starting the donor vehicle is vital for vehicle safety and effective jump-starting. Ensure the engine is running smoothly before connecting cables to prevent voltage surges. Confirm the battery terminals are clean and free of corrosion, reducing the risk of sparks or damage. Additionally, check your emergency preparedness by having gloves and safety glasses on hand to protect yourself. Starting the donor vehicle correctly minimizes hazards and guarantees a smooth transfer of power. Remember, a steady, well-prepared approach helps avoid accidents and keeps both vehicles safe during the process. Proper starting procedures are key to a successful, safe jump-start.
Patience During the Jump-Start Process
Patience is essential when jump-starting a vehicle, as rushing the process can lead to safety hazards or damage to your cars. Proper timing patience ensures you don’t overlook key steps or cause electrical issues. Take your time to connect the cables carefully, and don’t rush through each step. Maintaining emotional control helps you stay focused, preventing mistakes born from frustration or impatience. Remember, a quick, hasty approach can compromise safety or damage the battery. It’s better to proceed calmly and methodically, allowing the vehicle to stabilize before attempting to start your car. This patience reduces stress and increases the chances of a successful jump-start. Stay composed, follow the steps carefully, and give each stage the attention it deserves for a safe, effective process.
Disconnecting Cables Safely
After confirming the vehicles are turned off and the jumper cables are no longer hot, you can safely disconnect them. Start by removing the black clamp from the grounded metal surface on your vehicle. Then, disconnect the red clamp from the booster vehicle’s positive terminal. Finally, remove the red clamp from your car’s battery, followed by the black clamp. Proper cable removal prevents sparks or short circuits. Remember to inspect your jumper cables for damage or corrosion, which affects jumper cable maintenance. When disposing of your old or damaged batteries, follow local battery disposal guidelines to prevent environmental harm. Proper cable handling extends their lifespan and keeps your vehicle safe. Always store jumper cables in a dry, organized space to ensure they’re ready for future use.
Post-Jump Battery Care

Once you’ve safely disconnected the jumper cables, it’s important to give your battery some extra attention. Proper battery maintenance helps guarantee it stays healthy and reliable. After a jump-start, keep your engine running for at least 20 minutes to allow the alternator to recharge the battery using effective charging techniques. Avoid turning off the engine immediately; this prevents the battery from losing the charge gained. Check the battery terminals for corrosion and clean them if necessary to maintain a good connection. If your vehicle has a voltmeter, monitor the voltage to see if it’s within the proper range. Regularly inspecting and maintaining your battery can extend its lifespan and prevent future starting issues. Remember, consistent care saves you trouble down the road.
Recognizing When to Seek Professional Help
If your car keeps having engine problems after a jump-start, it’s time to get professional help. Unusual noises like squealing or grinding are signs something’s wrong beyond a simple battery issue. Ignoring these signs can lead to more damage and higher repair costs.
Persistent Engine Problems
Persistent engine problems often don’t resolve on their own and can signal a serious issue that needs professional attention. If your engine continues to stall, struggle to start, or shows inconsistent performance, don’t ignore it. Common causes include battery corrosion or alternator malfunction, which can drain power and impair engine function. Recognizing these signs early is vital to prevent further damage.
- Strange smells or smoke indicating electrical issues
- Dimming headlights or flickering dashboard lights
- Unusual engine noises or rough idling
- Difficulty starting despite a recent jump-start
If you notice any of these symptoms, it’s time to see a mechanic. Addressing persistent engine problems promptly can save you money and avoid breakdowns. Don’t delay professional diagnosis if issues persist.
Unusual Car Noises
Unusual noises while driving often signal that something’s wrong with your vehicle and may require professional attention. If you hear knocking, squealing, or grinding sounds, don’t ignore them. These noises can indicate issues like worn belts, brake problems, or loose parts. Pay attention to sudden or persistent sounds, especially if they coincide with engine stalling or difficulty accelerating. Engine stalling combined with unusual noises suggests a serious problem that needs immediate diagnosis. Ignoring these signs can lead to more extensive damage or breakdowns. When you notice strange sounds, especially during startup or while driving, it’s best to have a mechanic inspect your vehicle promptly. Recognizing these warning signs early helps prevent costly repairs and keeps you safe on the road.
Preventive Tips to Avoid Future Battery Failures
Regularly inspecting your car’s battery and its connections can considerably reduce the risk of unexpected failures. Proper battery maintenance helps identify issues early and guarantees reliable starts. Use correct charging techniques when needed, avoiding overcharging or deep discharges that can damage the battery. Keep terminals clean and free of corrosion, and check for loose connections. Consider testing your battery periodically to monitor its health.
Regular battery checks and maintenance prevent failures and ensure reliable car starts.
- Clean terminals regularly to prevent corrosion and guarantee good contact
- Avoid short trips that don’t fully recharge the battery
- Use a regulated charger for ideal charging techniques
- Replace your battery before it’s completely dead to prevent failures
Implementing these tips keeps your battery in top shape, extending its lifespan and preventing inconvenient breakdowns.
Frequently Asked Questions
What Are the Signs My Car Battery Needs Replacement?
You’ll notice signs like slow engine cranks, dim headlights, or frequent jump-starts, indicating your battery needs replacing. Check for battery corrosion around terminals, which hampers performance, and be alert to alternator issues that drain the battery faster. If your car struggles to start or electrical components flicker, it’s time to replace the battery. Regular maintenance and inspections help catch these signs early before you get stranded.
Can Cold Weather Affect My Car’s Jump-Start Process?
Cold weather can make jump-starting your car more challenging because it thickens the battery’s electrolyte, reducing its efficiency. You should check the battery insulation and guarantee it’s in good condition, as cold can cause the starter solenoid to struggle. Proper insulation helps retain heat, making it easier for the battery to deliver power. Remember, a weak battery in cold weather increases the risk of needing a jump-start, so regular maintenance is key.
Is It Safe to Jump-Start a Car With a Damaged Battery?
Be cautious when jumping a car with a damaged battery. Damaged batteries can leak harmful acid, risking serious safety issues. Battery corrosion worsens the problem, increasing the chance of sparks or explosions. For your safety, skip jump-starting if the battery is visibly damaged, swollen, or leaking. Instead, seek professional help or replace the faulty battery. Remember, prioritizing jump start safety keeps you safe and your car’s electrical system intact.
How Often Should I Check My Vehicle’s Battery Health?
You should check your vehicle’s battery health at least every six months to ensure peak battery maintenance. Regular inspections help you monitor the charging frequency and catch issues early. If you notice dim headlights or slow engine cranking, it’s time for a quick battery check. Maintaining a routine check-up schedule keeps your battery in good shape, prevents unexpected breakdowns, and extends its lifespan, saving you money and hassle.
What Should I Do if the Car Still Won’T Start After a Jump?
If your car still won’t start after a jump, you should perform battery troubleshooting first. Check the battery terminals for corrosion and make sure connections are tight. If that doesn’t work, consider alternative solutions like testing the alternator or checking for a faulty starter. You might also try a different power source or call roadside assistance. Persistent issues indicate a deeper problem that needs professional diagnosis to avoid further damage.
Conclusion
Now that you know how to jump-start your car the right way, you’re like a skilled conductor guiding a symphony. With each step, you’re orchestrating a smooth, safe revival for your battery’s life. Just remember, your caution keeps the sparks flying in harmony, not chaos. Keep these tips close, and your car will dance back to life effortlessly. Stay prepared, stay safe, and let your confidence steer you through any roadside encore.