
To use an OBD-II scanner for your check engine light, first locate the port under your dashboard and connect the device securely. Turn on the scanner and your vehicle’s ignition, then navigate through the menu to read codes. Use these codes to identify issues and, after repairs, clear the trouble codes to turn off the light. If you’re ready to learn step-by-step tips, continue exploring the process in more detail.
Key Takeaways
- Locate the OBD-II port under your dashboard and connect the scanner securely.
- Turn on the vehicle ignition and power on the scanner to access the main menu.
- Select “Read Codes” or similar option to retrieve diagnostic trouble codes (DTCs).
- Interpret the codes using manual or online resources to identify potential issues.
- Clear the codes and reset the check engine light after repairs or troubleshooting.

ALLOYWORKS 3 Row Full Aluminum Radiator + 2X12" Fans Shroud + Relay For 1977-1987 Chevy Nova C/K/G/P 10 20 30 40, Buick Century Skylark1977-1980 GMC C/K/G 15 25 35 1500 2500 3500 Suburban Radiators
■ [Applications] Direct replacement for Chevy Nova 75-79 / Chevy Camaro 70-80;for Chevy Monte Carlo 83-87/Oldsmobile Cutlass 78-88;for...
As an affiliate, we earn on qualifying purchases.
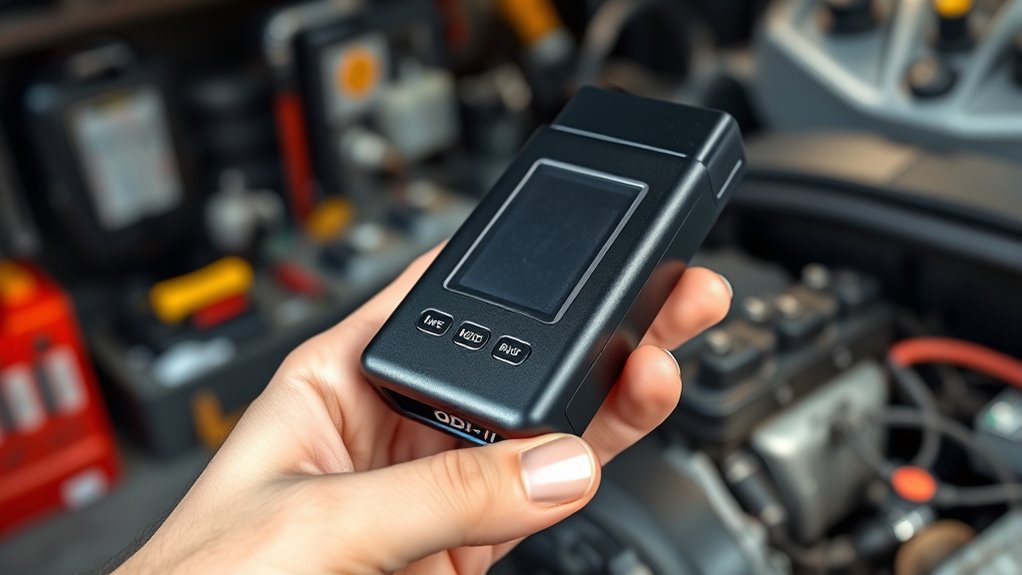
Understanding What an OBD-II Scanner Does
An OBD-II scanner is a handy tool that helps you diagnose what’s causing your check engine light to turn on. It reads the vehicle’s onboard computer, which monitors various systems related to vehicle emission and performance. When there’s a problem, the onboard computer stores a diagnostic trouble code (DTC) that points to the specific issue. This code reveals whether the problem is linked to components like the oxygen sensor, catalytic converter, or other emission-related parts. By connecting the scanner to your vehicle’s port and retrieving these codes, you gain insight into what’s wrong without needing a mechanic. This process allows you to understand if the issue affects vehicle emission or if it’s a minor fault you can fix yourself. Smart diagnostics can also help you monitor your vehicle’s health over time and optimize maintenance routines. Additionally, understanding diagnostic trouble codes enables you to decide when professional repair is necessary. Recognizing early warning signs through these codes can prevent more serious and costly repairs later on. Knowing how to interpret these codes can also assist in preventive maintenance, helping you address minor issues before they escalate. Furthermore, many modern vehicles offer real-time data monitoring, which can provide ongoing insights into engine performance.

LUXERAD 3 Rows Core Performance High Flow Full Aluminum Racing Cooling Radiator Shroud+2Fans For 67-72 CHEVY/GMC C/K SERIES PICKUP TRUCK
Fitment:Chevy GMC C/K Series Pickup Truck 67-72
As an affiliate, we earn on qualifying purchases.
Choosing the Right OBD-II Scanner for Your Vehicle
Choosing the right OBD-II scanner depends on your vehicle’s make, model, and your diagnostic needs. First, consider sensor compatibility—ensure the device can read the specific codes and sensors in your vehicle. Some scanners support advanced features for newer models, while others cover basic diagnostics. Device connectivity is also vital; decide whether you prefer a wired scanner or a wireless one that connects via Bluetooth or Wi-Fi to your smartphone or tablet. Compatibility with your device’s operating system is essential for smooth operation. Think about your experience level—basic scanners are user-friendly, but professional-grade tools offer more detailed data. Additionally, reviewing Vetted information can help you understand which features are most relevant for your vehicle and skill level. By matching these aspects to your vehicle and skills, you’ll find a scanner that effectively helps you troubleshoot your check engine light.

DB Electrical 400-14173 High Output Alternator Compatible With/Replacement For 4G Series IR/IF 12V 220 Amp 2003 2004 2005 Ford Crown Victoria 334-2536 3W1U-10300-AA 3W1U-10300-AB 3W1Z-10346-AA
Specs: Unit Type: Alternator, Voltage: 12, Rotation: CW, Amperage: 220, Clock: 1, Pulley Class: S6, Regulator: IR, Fan...
As an affiliate, we earn on qualifying purchases.
Preparing Your Vehicle for Diagnostic Testing
Before connecting your OBD-II scanner, it’s important to prepare your vehicle for diagnostic testing. Verify your vehicle has been properly maintained, as recent vehicle maintenance can affect diagnostic results. Check that the engine is cool and the battery is in good condition to avoid false error codes. Remove any unnecessary accessories that could interfere with the diagnostic tools or the scanner connection. Make sure the fuel tank is at least a quarter full, since some diagnostic tests require engine operation. Also, confirm that all dashboard warning lights, apart from the check engine light, are off. Taking these steps helps ensure accurate readings and smooth scanning. Proper vehicle preparation minimizes the risk of misdiagnosis and saves you time during the diagnostic process safety precautions. Additionally, verifying that your vehicle’s engine cooling system is functioning properly can prevent overheating during diagnostics. Ensuring your vehicle’s vital systems are in good condition can help avoid complications during the test. Regular vehicle maintenance and inspections can also contribute to more reliable diagnostic outcomes. Checking the condition of your battery and electrical system can further prevent unexpected issues during the diagnostic process.

Mechman 390-Amp High Output Alternator 1996-2020 GM Truck/SUV 4.3L 4.8L 5.3L 5.7L 6.0L (Natural)
Fits most 1996 to 2020 GM Trucks and SUV's
As an affiliate, we earn on qualifying purchases.
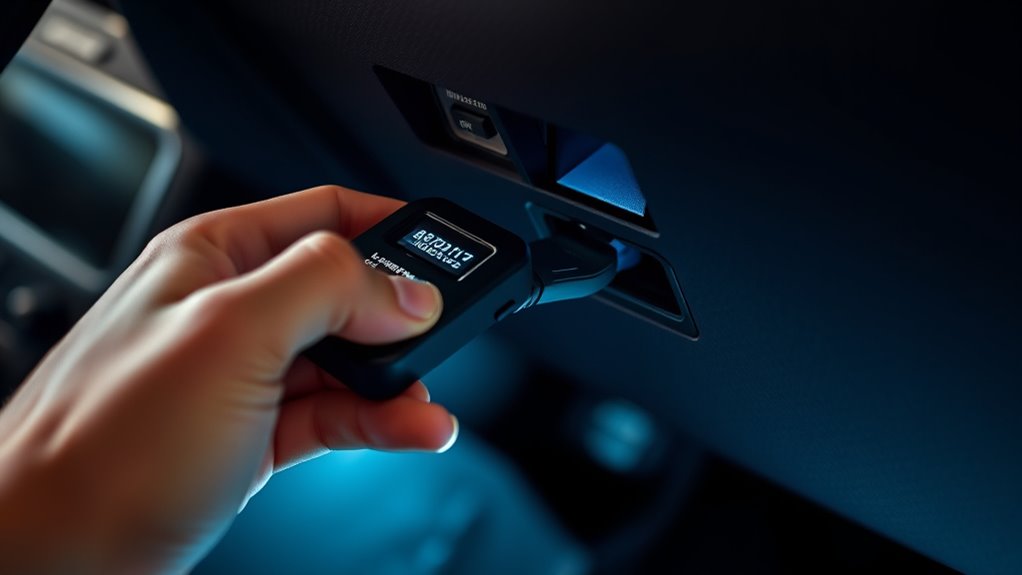
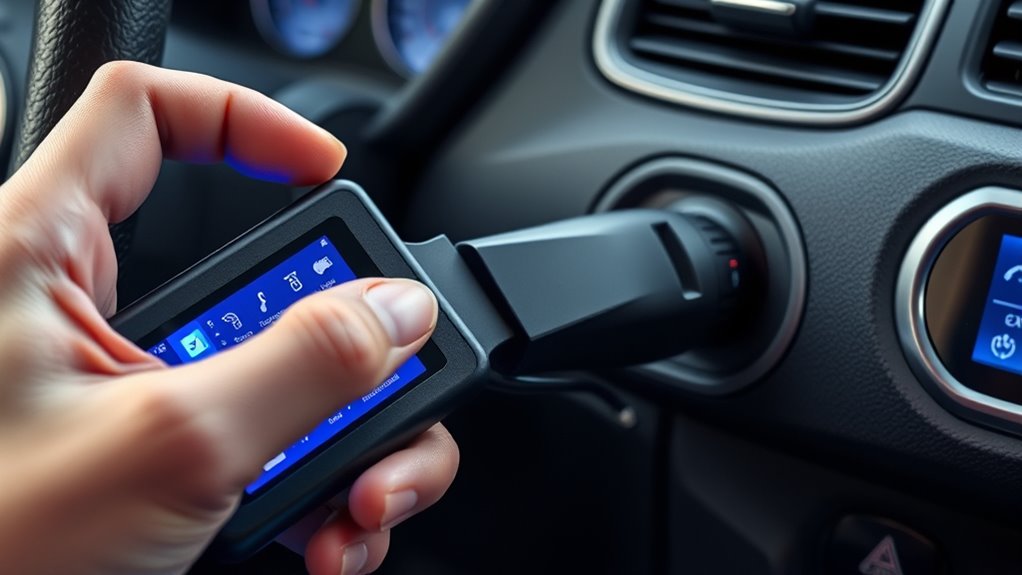
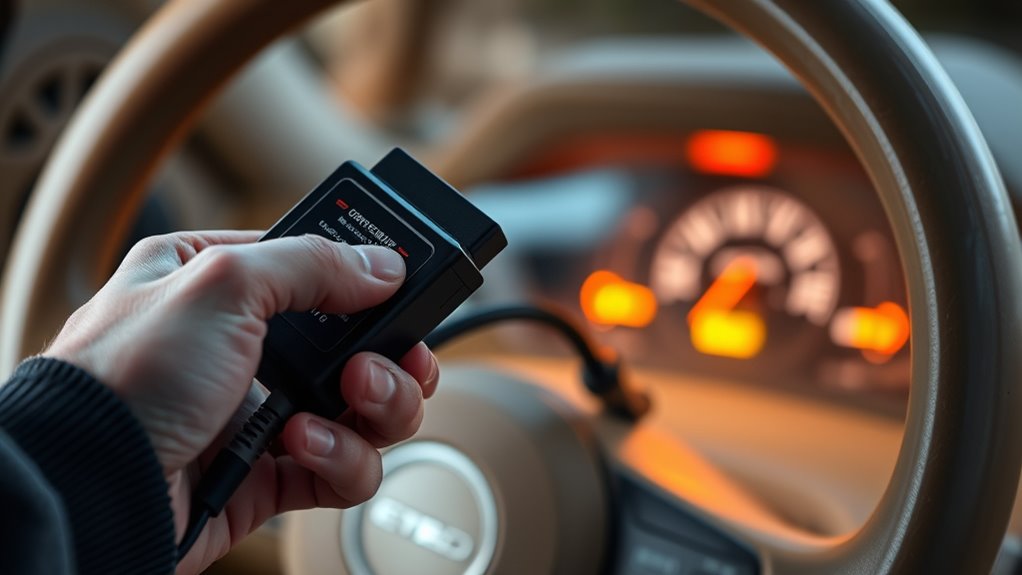
Connecting the Scanner to Your Car’s OBD-II Port

Connecting the scanner to your car’s OBD-II port is straightforward, but it’s important to do it properly to guarantee accurate readings. First, locate the port—usually beneath the dashboard near the steering column—where sensor placement is designed for easy access. Confirm your scanner is compatible with your vehicle’s port, as port compatibility varies by make and model. Once found, plug the scanner firmly into the port, making sure it’s seated correctly. This connection allows the scanner to communicate with your car’s computer system seamlessly. Double-check the connection to avoid any misreads. Use the table below to verify sensor placement and port compatibility for common vehicle types:
| Vehicle Type | Typical Port Location |
|---|---|
| Sedan | Under Dashboard |
| SUV | Near Steering Column |
| Truck | Under Dashboard |
| Hybrid/Electric | Close to Driver’s Seat |
Additionally, energetic alignment can enhance the overall diagnostic process by ensuring your vehicle’s systems are functioning optimally, similar to how aligning your energy can improve personal well-being.
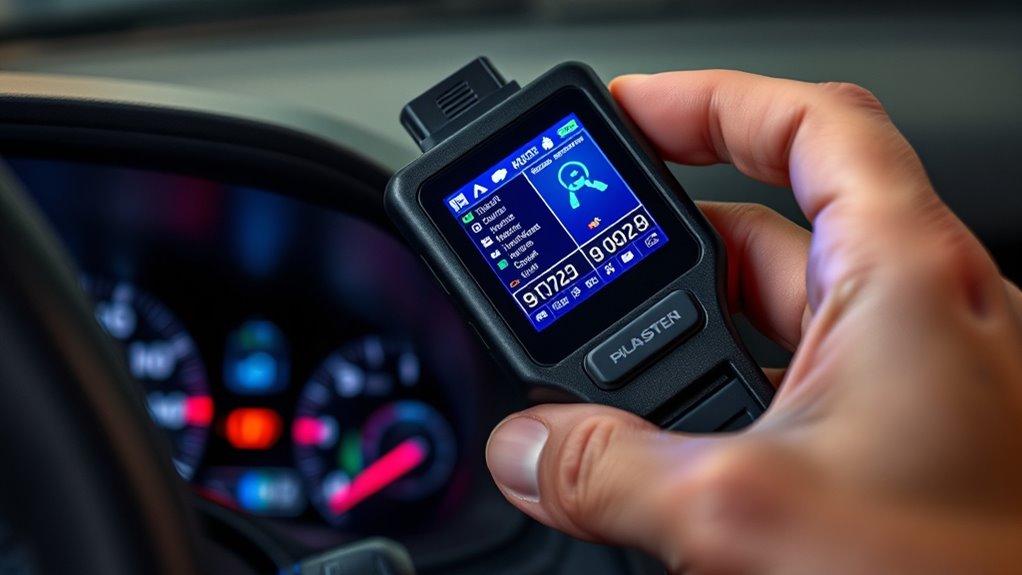
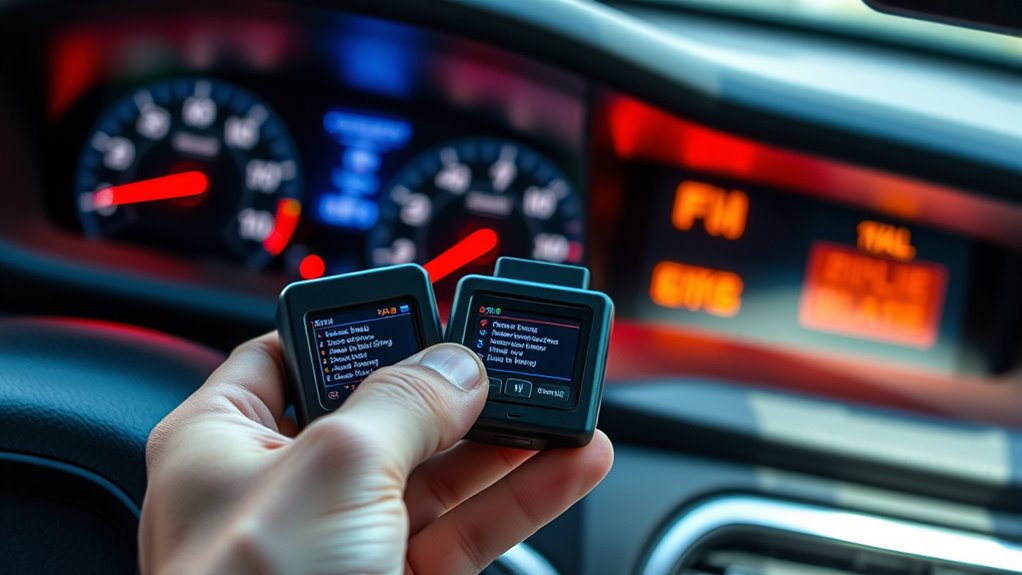
Powering On and Navigating the Scanner Interface
Once you’ve connected the scanner, turn it on using the power button. The main menu will appear on your display screen, guiding you through available options. From there, you can easily navigate through the interface to access diagnostic data and codes. Being familiar with diagnostic techniques can also help you better understand and interpret the information provided by your scanner. Additionally, understanding vehicle computer systems can improve your ability to troubleshoot issues effectively. Knowing how navigation and mapping work within the scanner can assist in locating the correct diagnostic functions more efficiently. Developing a basic understanding of OBD-II protocols can further enhance your troubleshooting capabilities.
Turning On the Device
To turn on the device, press and hold the power button until the screen lights up. This activates your scanner, allowing you to begin checking your vehicle’s engine performance and vehicle security features. Once powered on, you’ll see the main interface, where you can navigate to diagnostic functions. Ensuring proper use of the scanner is essential for accurate readings and effective troubleshooting. Here are the steps to get started: 1. Ensure your vehicle’s ignition is on, but the engine doesn’t need to be running. 2. Familiarize yourself with the menu options displayed on the screen. 3. Use the arrow keys or touch screen to select “Scan” or “Read Codes.” Understanding diagnostic data can help you interpret the results accurately and identify potential issues more effectively. Proper vehicle communication protocols are crucial for the scanner to retrieve precise information from your vehicle’s onboard systems. Additionally, body jewelry measurement accuracy ensures a comfortable fit during ongoing diagnostics, especially for accessories like piercings that require proper sizing. Maintaining awareness of automotive repair fundamentals can improve your troubleshooting skills and overall diagnostic process. This simple process helps you quickly access important diagnostic data, making it easier to identify issues affecting your vehicle’s security and engine health.
Accessing Main Menu
Ever wonder how to access the main menu on your scanner after turning it on? Once powered up, most diagnostic tools display a main menu that lets you choose functions like reading codes or clearing them. To navigate, use the arrow keys or touchscreen, depending on your device. Keep in mind, vehicle compatibility may affect available options. Here’s a simple guide:
| Step | Action | Tip |
|---|---|---|
| 1 | Power on the scanner | Confirm it’s properly connected |
| 2 | Wait for startup screen | Some devices need a few seconds |
| 3 | Access the main menu | Usually by pressing ‘Menu’ button |
| 4 | Select diagnostic functions | Use arrows or touchscreen |
Your scanner’s main menu is the gateway to diagnosing your vehicle’s issues efficiently.
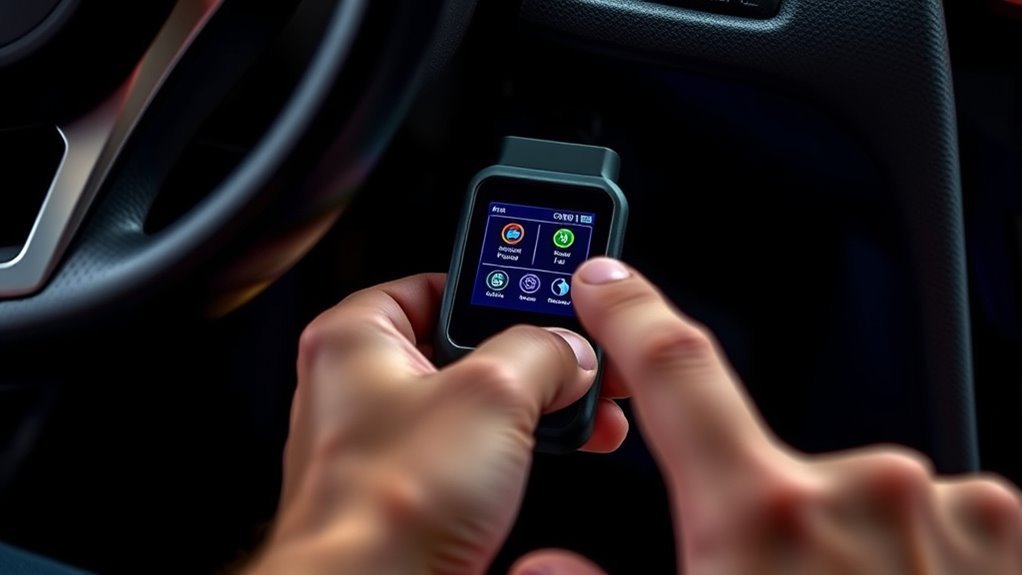
Navigating Display Screen
Are you unsure how to power on your scanner and navigate its display? Once powered, your scanner shows display prompts guiding you through menu navigation. To get started, follow these steps:
- Turn on the scanner using the power button; the display should light up with the main menu.
- Use the arrow keys or dial to navigate through options, such as reading codes or viewing live data.
- Select menu items by pressing the confirm button, which will bring up detailed information or diagnostic results.
Pay attention to the display prompts—they direct your actions and help you move smoothly through different functions. Mastering menu navigation makes diagnosing your check engine light faster and more straightforward.
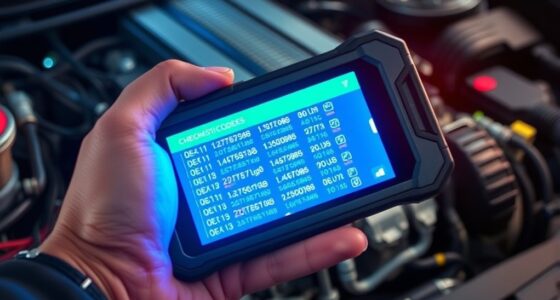
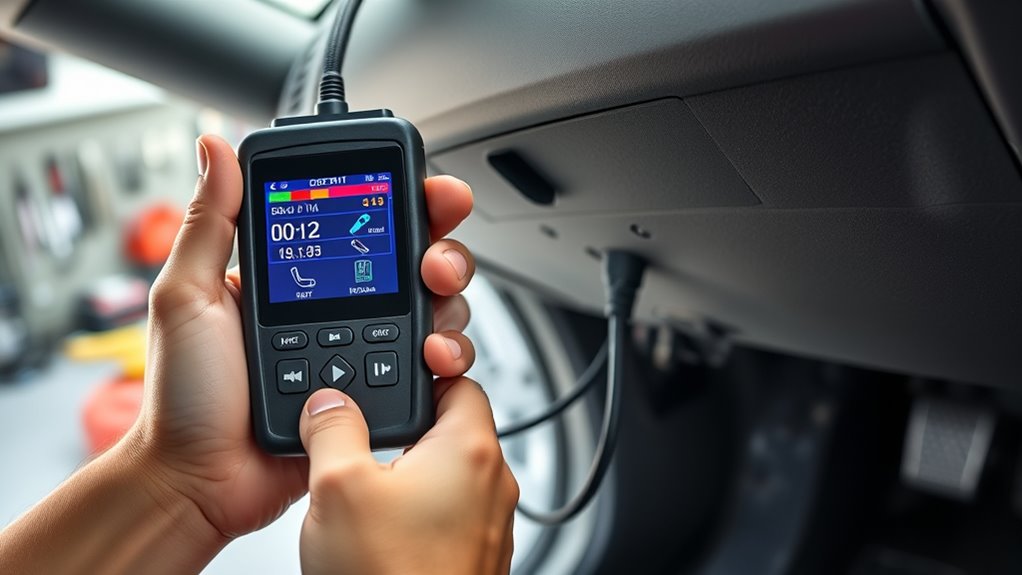
Reading and Interpreting Error Codes
How can you make sense of that blinking or steady check engine light? First, connect your OBD-II scanner to your vehicle’s port and retrieve the error codes. These codes point to specific issues, often related to sensor diagnostics, helping you pinpoint problems quickly. Once you have the codes, use your scanner’s manual or online resources for code interpretation. Understanding what each code means allows you to assess whether the problem is minor or serious. Keep in mind that some codes indicate issues with sensors, such as oxygen or mass airflow sensors, which are critical for proper engine function. Correctly interpreting these codes is essential for making informed decisions about repairs or further diagnostics. Recognizing safe power practices and using reliable diagnostic tools can help prevent unnecessary repairs and ensure your vehicle remains in good condition. Familiarity with error code databases can also streamline troubleshooting efforts and improve your diagnostic accuracy. Additionally, practicing proper diagnostic procedures can lead to more accurate and efficient problem resolution. Developing diagnostic skills can empower you to handle common engine issues confidently without immediately seeking professional help.
Clearing the Check Engine Light After Repairs

Once you’ve made the necessary repairs, you’ll want to reset the error codes to turn off the check engine light. This involves using a scan tool or a manual method to clear the stored codes. Afterward, you should confirm that the light stays off, ensuring the issue is truly resolved.
Resetting the Error Codes
After completing repairs, you’ll want to clear the error codes to turn off the check engine light. This process involves understanding error code interpretation and following proper reset procedures. Here’s what to do:
- Connect your OBD-II scanner and turn on your vehicle’s ignition.
- Navigate to the “Clear Codes” or “Reset” option in the scanner’s menu.
- Confirm the reset; this clears the stored error codes and turns off the check engine light.
Keep in mind, some scanners automatically interpret error codes, making it easier to decide if repairs are complete. Always ensure you’ve addressed the root cause before resetting, as failure to do so might cause the light to return. Proper reset procedures ensure your vehicle’s system recognizes that repairs are done.
Confirming Light Removal
Confirming that the check engine light has been successfully turned off is a vital step after completing repairs and resetting error codes. To guarantee the problem is resolved, start your vehicle and use diagnostic software to verify that no codes reappear. If the light remains off, it indicates the sensor calibration and repair were effective. However, if the light returns, double-check the sensor calibration and re-run the diagnostic software to identify any lingering issues. Clearing the codes with an OBD-II scanner doesn’t guarantee the problem is fixed; it only resets the warning. Proper sensor calibration is indispensable for accurate readings, so follow your vehicle’s manual or professional guidance if needed. Confirming the light’s removal ensures your repairs were successful and your vehicle is back to normal.
Troubleshooting Common Issues With Error Codes

When your check engine light comes on, the first step is understanding the error codes it displays. Using diagnostic tools, you can identify the specific issues causing the warning. Troubleshooting techniques involve interpreting these codes accurately to prevent unnecessary repairs.
When the check engine light appears, first interpret the error codes to diagnose the issue accurately.
Here are some common issues you might encounter:
- Sensor Malfunctions: Error codes related to oxygen sensors or mass airflow sensors often cause the light to turn on. Check and replace faulty sensors.
- Loose or Damaged Gas Cap: A loose or cracked gas cap can trigger specific error codes. Ensure it’s tight and in good condition.
- Emissions-Related Problems: Codes indicating emissions system issues may require inspecting the catalytic converter or exhaust system.
Applying proper troubleshooting techniques with diagnostic tools helps pinpoint problems efficiently.
Tips for Maintaining Your OBD-II Scanner
To keep your OBD-II scanner working accurately, regular calibration is crucial. Make sure to maintain the device’s battery and store it properly to prevent damage. Taking these simple steps helps ensure your scanner remains reliable whenever you need it.
Regular Device Calibration
Regular device calibration is essential to guarantee your OBD-II scanner provides accurate readings every time you use it. Proper calibration ensures sensor calibration remains precise and that software updates are correctly installed. To keep your scanner in top shape, follow these tips:
- Regularly perform sensor calibration to ensure readings reflect real-time data accurately.
- Keep your device updated with the latest software updates, fixing bugs and improving performance.
- Periodically verify calibration settings against known standards or a vehicle with a trusted diagnostic system.
Battery and Storage Care
Proper battery and storage care are essential to keep your OBD-II scanner functioning reliably over time. To guarantee ideal battery maintenance, avoid leaving the device unused for long periods; recharge the battery if it’s removable, and keep it in a cool, dry place. When storing your scanner, use a protective case to prevent damage from dust, moisture, or shocks. Follow storage tips like keeping the device away from extreme temperatures and direct sunlight, which can degrade internal components. Regularly check the battery’s condition and ensure contacts are clean for a good connection. Proper care extends the lifespan of your scanner, maintains its performance, and ensures it’s ready whenever you need it for diagnostics.
When to Seek Professional Help
While many Check Engine Light issues are simple enough to diagnose and fix on your own, some signs indicate it’s time to call in a professional. If your vehicle’s problem persists despite basic troubleshooting, or if the light keeps flashing, don’t delay. Here are three situations to seek expert help:
If the Check Engine Light persists or flashes, it’s time to consult a professional.
- The warning light is blinking, signaling a possible engine misfire or severe problem.
- You’re unsure about interpreting engine diagnostics or if the codes point to complex issues.
- Your vehicle’s service schedules recommend professional inspection for ongoing or recurring problems.
A mechanic can perform thorough engine diagnostics and assure your vehicle remains safe. Remember, neglecting serious issues can lead to costly repairs down the line. When in doubt, consult a professional.
Frequently Asked Questions
Can I Use an OBD-II Scanner on Any Vehicle?
You can use an OBD-II scanner on most vehicles manufactured after 1996, but vehicle compatibility varies, so double-check your car’s make and model. Some scanners have limitations and may not access all systems or codes, especially on older or specialized vehicles. Always verify that your scanner supports your vehicle to guarantee accurate readings and avoid frustration. If unsure, consult the scanner’s compatibility list before use.
How Often Should I Check My Vehicle’s Error Codes?
Think of your vehicle’s health as a garden that needs regular tending. You should check your error codes during your vehicle’s maintenance schedule, ideally every few months or if a warning sign appears. This proactive approach helps you interpret warning signs early, preventing bigger issues. Regular scans keep your car running smoothly, ensuring you catch problems before they turn into costly repairs. Don’t wait for the warning light to scream for attention.
Are There Risks in Clearing Error Codes Myself?
Yes, there are risks when you clear error codes yourself. Doing so might hide underlying issues that impact vehicle safety, leading to potential breakdowns or accidents. Also, consider data privacy; your scanner could store or transmit diagnostic data without your knowledge. Always make sure you understand the codes and why they appeared before clearing them, and use reputable tools to protect your privacy and keep your vehicle safe.
What Features Should I Look for in a Beginner-Friendly Scanner?
Looking for a beginner-friendly scanner? Focus on user-friendly features like a simple interface, clear display, and easy-to-understand codes. Don’t forget to contemplate budget-friendly options that still pack essential functions, so you don’t overspend. A good scanner should make troubleshooting straightforward, giving you quick insights without the hassle. As you explore, these features will turn the intimidating task into a manageable, even satisfying, DIY project—saving you both time and money.
How Do I Update My OBD-II Scanner’s Software?
To update your OBD-II scanner’s software, start by connecting it to your vehicle and turning it on. Then, access the device’s menu to find the software updates option. Follow the troubleshooting steps provided in the user manual or manufacturer’s website if needed. Download any available software updates to make sure your scanner functions properly and stays compatible with newer vehicle models. Regular updates improve diagnostics and troubleshooting accuracy.
Conclusion
Now you’re all set to tackle that pesky check engine light yourself—who knew reading error codes could feel so empowering? Just remember, if you accidentally clear a code without fixing the problem, your car might remind you it’s still not happy. So, enjoy the DIY ride, but don’t forget: sometimes, a professional’s touch is just a scanner away. Happy troubleshooting!