To add heated seats aftermarket, start by locating the seat wiring harness and removing panels for access. Connect the heating elements to the vehicle’s electrical system, tapping into a reliable power source like the fuse box or cigarette lighter. Install the control switch inside the car and verify all wiring is secure and insulated. Test the system to confirm proper operation, then reassemble everything. Keep going to discover detailed steps for a safe, effective installation.
Key Takeaways
- Select the correct heated seat kit compatible with your vehicle model before beginning installation.
- Access seat wiring by removing panels and connect the heater pads to existing wiring securely.
- Choose a reliable power source, such as the fuse box, and ensure it can handle the added electrical load.
- Install the control switch inside the cabin, wiring it in line with the seat heater for easy operation.
- Test the system for proper functioning, then reassemble panels, ensuring all wiring is secure and insulated.
If you’re looking to upgrade your vehicle for added comfort during cold months, adding heated seats aftermarket is a practical solution. Installing a seat heater kit can make your drives much more comfortable, especially when the temperature drops. The key to a successful installation lies in understanding your seat wiring and the power sources available. Before you begin, make sure you have the right kit for your vehicle and that you’re comfortable working with electrical components.
Upgrade your vehicle with aftermarket heated seats for cozy winter drives.
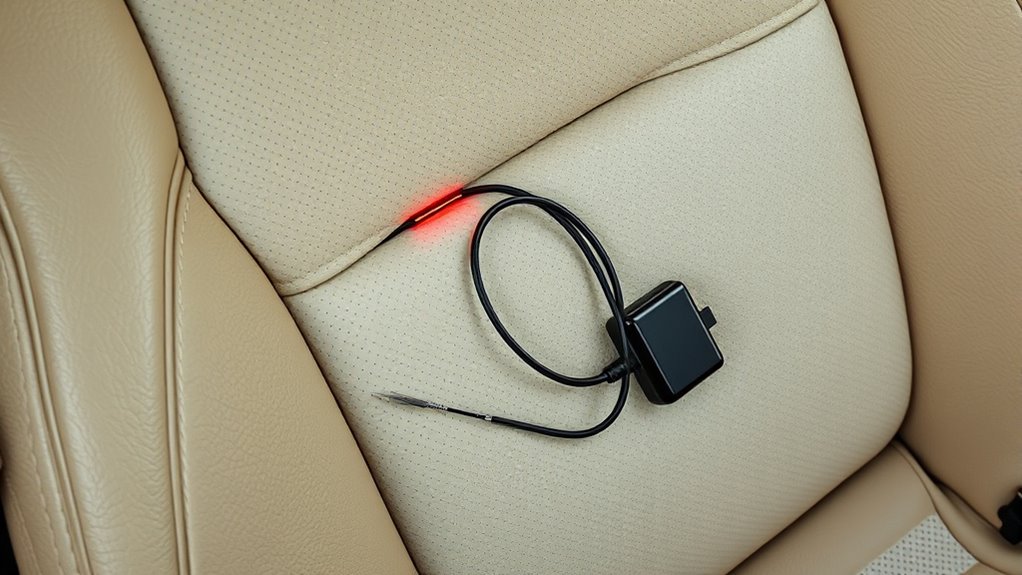
First, you’ll want to locate the seat wiring harness, which connects to your vehicle’s electrical system. Most modern cars have accessible wiring behind the seat or beneath the seat cushion. Carefully remove any trim or panels to expose the wiring. When installing the heated seat elements, you’ll need to connect the wiring from the heater pads to your vehicle’s electrical system. This involves splicing into the existing seat wiring or tapping into dedicated power sources. It’s crucial to identify a reliable power source that can handle the additional load—many choose the fuse box or the cigarette lighter circuit if it provides enough current. Always verify the amperage requirements of your heated seat kit and ensure your power source can supply sufficient current without overloading.
Once you’ve identified the power source, you can run the wiring from the seat to the power supply, making sure to secure everything with zip ties and avoid pinching or damaging the wires. Many kits come with a switch that you install in the cabin, allowing you to turn the heated seats on and off easily. When wiring the switch, connect it in line with the seat wiring so that it controls power flow to the heating elements. Be cautious when splicing into the wiring—use appropriate connectors and insulate all connections thoroughly to prevent shorts or corrosion. If you’re unsure about which power source to use, consulting your vehicle’s wiring diagram or a professional can help guarantee safety and proper operation.
Properly selecting the right projector type and ensuring good wiring practices can significantly improve your setup and safety. After completing the wiring connections, test your installation by turning on the heated seats. Make sure they heat evenly and that the switch functions correctly. Once you’re satisfied, reassemble any trim panels and secure all wiring out of the way. Properly installed heated seats will provide a cozy upgrade to your vehicle, making winter drives much more enjoyable. Remember, working with vehicle electrical systems requires attention to detail and safety precautions, so take your time and double-check each connection. With the right tools and careful planning, adding heated seats aftermarket is an achievable project that greatly enhances your driving comfort during cold weather.
Frequently Asked Questions
Are Aftermarket Heated Seat Kits Compatible With All Vehicle Models?
Most aftermarket heated seat kits aren’t compatible with all vehicle models due to compatibility concerns. You need to check your vehicle’s make, model, and year to guarantee the kit will fit and work properly. Some kits are designed specifically for certain cars, so it’s essential to verify vehicle compatibility before purchasing. Otherwise, you might face installation issues or electrical problems. Always consult the product details or a professional to confirm compatibility.
How Long Does the Installation Process Typically Take?
The installation timeline for aftermarket heated seat kits usually takes about 2 to 4 hours, depending on your vehicle model and your experience level. You’ll need basic tools like screwdrivers, wire cutters, and possibly a multimeter. To guarantee a smooth process, follow the kit instructions carefully, and plan for some extra time to troubleshoot or double-check connections. With patience, you can complete the install efficiently within this timeframe.
Can I Install Heated Seats Myself Without Professional Help?
Yes, you can do a DIY installation of heated seats, but you’ll need basic electrical skills. Carefully follow the instructions included with your seat heater kit, paying close attention to wiring harnesses and connections. Make sure to disconnect the battery before starting to avoid shocks. While it’s doable, if you’re unsure about wiring or vehicle electronics, consider seeking professional help to ensure safety and proper installation.
What Safety Precautions Should I Follow During Installation?
Imagine you’re walking a tightrope—safety first. When installing seat heater kits, always disconnect the vehicle’s battery to safeguard your airbag system and avoid electrical hazards. Use insulated tools, avoid pinching wires, and follow the manufacturer’s instructions carefully. Double-check all connections, and test the system before use. Prioritizing electrical safety ensures you don’t accidentally trigger airbags or cause electrical damage during installation.
Will Installing Heated Seats Affect My Vehicle’s Warranty?
Installing heated seats may affect your vehicle’s warranty if it conflicts with manufacturer restrictions. You could face warranty concerns if the installation causes electrical issues or damage. Always check your vehicle’s warranty policy and consult the manufacturer before proceeding. To avoid problems, consider professional installation and keep detailed records. This way, you minimize risks and guarantee your aftermarket upgrade stays within warranty guidelines.
Conclusion
Installing heated seats aftermarket transforms your driving experience, offering comfort when you need it most. It’s a simple upgrade that keeps you warm during cold mornings, yet it’s also a reminder that sometimes, the best improvements come from taking matters into your own hands. Just like customizing your ride, adding seat heaters blends practicality with a touch of luxury—proving that small changes can make a big difference. Stay warm, stay confident, and enjoy your upgraded ride.