
To change your oil at home, start by gathering tools like a wrench, oil filter wrench, funnel, and gloves. Lift the vehicle safely, let the engine cool, and drain the old oil into a container. Remove and replace the oil filter, then refill with the recommended oil type and amount. Double-check for leaks and dispose of the used oil responsibly. If you follow these steps, you’ll gain confidence and learn more about vehicle maintenance.
Key Takeaways
- Gather essential tools, the correct oil, and a new filter, then organize your workspace for safety and efficiency.
- Ensure the vehicle is cooled, on level ground, and securely supported before draining the old oil.
- Carefully remove the drain plug and old filter, then dispose of used oil responsibly.
- Install a new filter, refill with the recommended oil amount and type, and securely replace the oil cap.
- Check for leaks, verify oil level, and clean tools and workspace to complete a safe, environmentally friendly oil change.

MPC Remote Start Kit Compatible with Mazda CX-5 2013-2024 || Phone App Control Included || Plug and Play || No Wire Splicing || USA Tech Support
WHAT'S INCLUDED - Complete remote start system compatible with Mazda CX-5 2013-2024. Package includes a smartphone control module,...
As an affiliate, we earn on qualifying purchases.
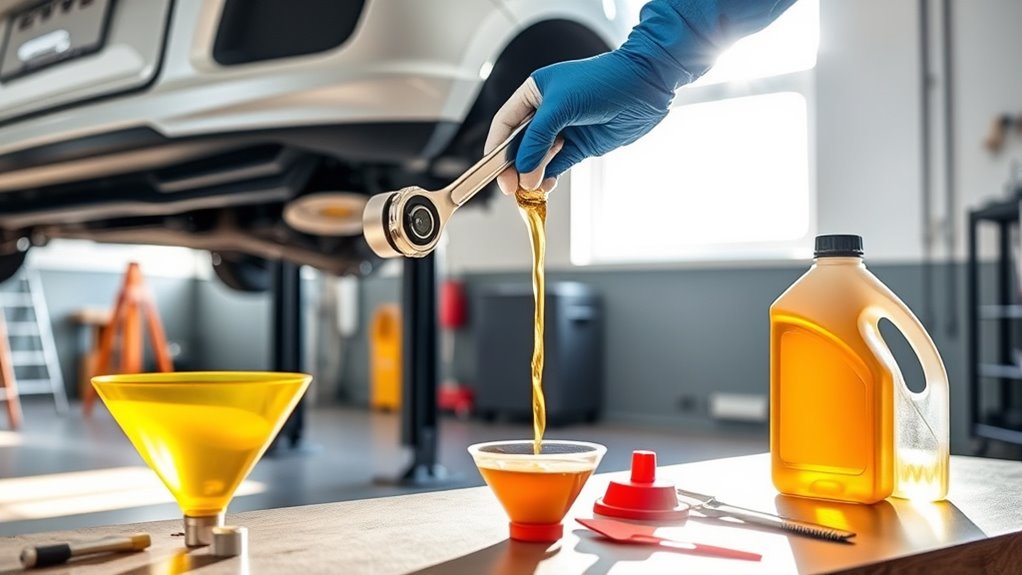
Gathering Necessary Tools and Supplies

Before you begin your oil change, it is vital to gather all the tools and supplies you’ll need to make the process smooth and efficient. Start with a tools checklist that includes a wrench or socket set, oil filter wrench, funnel, drain pan, gloves, and rags. Knowing the correct oil type for your vehicle is necessary to guarantee optimal engine performance; check your owner’s manual or existing oil cap for this information. Having everything ready saves time and prevents interruptions once you begin. Make sure your new oil matches the recommended viscosity and specifications. Additionally, understanding auditory processing can help in diagnosing any unusual noises or issues that might arise during vehicle operation. By organizing your tools and verifying the oil type beforehand, you set yourself up for a quick, clean, and successful oil change experience. It’s also helpful to prepare your workspace to ensure safety and accessibility throughout the process. Proper airflow around your workspace can also prevent the buildup of fumes and make the process safer. Ensuring proper lighting is essential to clearly see all components and avoid mistakes during the oil change. Furthermore, considering environmental practices can help in disposing of used oil responsibly and sustainably.

MPC Smartphone or OEM Remote Activated Remote Start Kit Compatible with 2008-2012 Ford Escape - Includes T-Harness - Firmware Preloaded
WHAT'S INCLUDED - Complete remote start system compatible with Ford Escape 2008-2012. Includes an all-in-one remote starter data...
As an affiliate, we earn on qualifying purchases.
Preparing Your Vehicle for the Oil Change
To guarantee a smooth oil change, you need to properly prepare your vehicle first. Start by ensuring your vehicle is on level ground to prevent spills and make the process easier. Turn off the engine and let it cool down for at least 10 minutes, as hot oil can cause burns. Perform basic vehicle maintenance checks, such as inspecting the oil level and looking for leaks or signs of engine trouble. Running engine diagnostics beforehand helps identify underlying issues that might affect the oil change or indicate more extensive repairs. Additionally, reviewing your vehicle’s outdoor environment can help you choose the best location for the oil change, especially if you plan to do it outside. Properly vehicle maintenance and safety precautions minimize risks and make the oil change more efficient and safe. Ensuring proper oil disposal practices is also essential for environmental protection and compliance with local regulations. Regularly checking your oil quality can help prevent engine damage over time. Being aware of oil viscosity specifications ensures optimal engine performance. Remove any obstructions around the hood and locate the oil fill cap and drain plug.
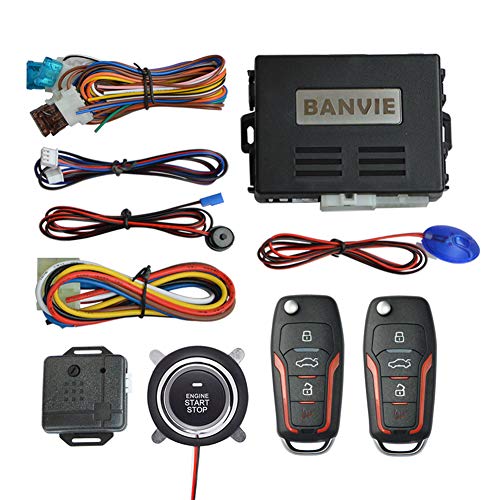
BANVIE ① Car Keyless Entry Security Alarm System + ② Remote Engine Starter + ③ Push to Start Stop Iginition Kit Button
Keyless Entry: with the basic keyless entry function. such as remote control lock/unlock door, trunk release.
As an affiliate, we earn on qualifying purchases.
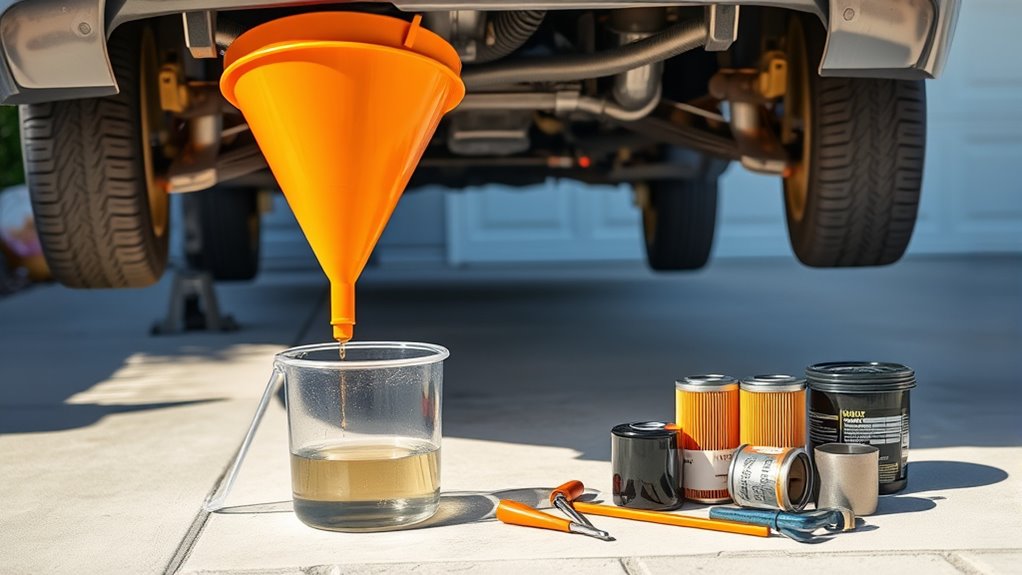
Safely Draining Old Oil

When draining the old oil, make certain your vehicle is securely supported on jack stands or a hydraulic lift to prevent accidents. Carefully position a drain pan beneath the oil pan drain plug. As you unscrew the plug, oil with varying viscosity and oil additives will start to flow out. Be prepared for a steady stream, and avoid splashing by controlling the flow with your hand if needed. Remember, older oil may be thicker or thinner depending on its oil viscosity, so expect differences in flow rate. Keep your workspace clean, and double-check that the drain plug is fully removed before removing the pan. Use gloves to protect your skin from hot oil, and dispose of the used oil responsibly. Properly venting the crankcase ensures safe oil draining and prevents pressure buildup. Understanding oil viscosity can help you anticipate how the oil will flow during draining. Additionally, being aware of oil additives can inform how the old oil might interact with new oil during the change. Being familiar with oil recycling practices is essential for environmentally responsible disposal.

CHADWICK Car Remote Start Stop Kit, 12V One-Key Engine Start Anti-Theft System, PKE Passive Keyless Entry with Push Button, Bluetooth Mobile Phone APP Control, Professional Installation Needed
1. Button Start - One-button Start. Press the brake once to start/stop, tap for the first time, ACC...
As an affiliate, we earn on qualifying purchases.
Replacing the Oil Filter

Choosing the right filter is key to ensuring your engine runs smoothly. Next, you’ll need to remove the old filter carefully without causing spills or messes. Finally, installing the new filter correctly will help prevent leaks and keep your engine protected.
Choosing the Right Filter
Selecting the right oil filter is essential for ensuring your engine stays clean and runs smoothly. To do this, focus on filter compatibility with your vehicle’s make and model. You’ll want a filter that fits perfectly to prevent leaks and ensure proper filtration. When choosing a brand, opt for reputable names known for quality and durability, which can make a noticeable difference in engine performance. Visualize a filter that matches your engine’s specifications, with a sturdy casing, a tight seal, and high-quality filtering media. Keep in mind these key points:
- Correct size and thread pattern for your vehicle
- Trusted brand with positive reviews
- Compatibility with your oil type and engine needs
- Additionally, consider the vetted quality standards and customer feedback for added assurance. Ensuring the filter meets industry standards can help you achieve optimal engine protection and longevity. Regularly inspecting and replacing your filter as recommended is also a key aspect of preventive maintenance that can extend the life of your engine. Proper filter selection and quality parts, like reliable filters, are crucial for engine health and overall vehicle performance.
Removing the Old Filter
Before removing the old oil filter, make certain your engine is cool and the vehicle is parked on a level surface. To start the filter removal, place a drain pan underneath to catch any drips. Use an oil filter wrench to loosen the old filter carefully, turning counterclockwise. Be prepared for some oil to spill out as you remove it. Once the filter is free, inspect the sealing gasket to ensure it came off with the filter. Proper old filter disposal is essential; check local regulations for recycling options. Dispose of the filter in a designated container or sealed bag to prevent leaks. Taking these steps ensures a clean, safe process and prepares you for installing the new filter. Always verify your filter removal process to avoid damaging engine components and ensure safety. Additionally, understanding oil filter types can help you select the best replacement for your vehicle. Knowing the proper disposal methods for filters also supports environmental responsibility. Being aware of the vetted vacuum cleaners available can also assist in maintaining your garage or workshop space efficiently. When handling filters, remember that safety precautions are critical to prevent accidents or injuries during the process.
Installing the New Filter
Ready to install the new oil filter? First, verify proper filter placement by aligning the threads carefully. Before sealing, apply a thin layer of oil to the new gasket to help with sealing techniques. As you screw in the filter, turn it clockwise until it’s snug, then tighten it slightly more by hand—avoid over-tightening. Visualize the filter sitting securely, with a clean gasket creating a tight seal to prevent leaks. Imagine the feel of the filter threading smoothly onto the engine, confirming it’s correctly aligned. Keep in mind the importance of proper filter placement to avoid cross-threading or damage. Once installed, double-check that the filter is firmly in place, and ensure the sealing techniques create a proper, leak-proof seal. Remember, electric dirt bikes offer powerful performance and can be a helpful reference when considering replacements for similar components. Additionally, understanding smart home automation can inspire smarter maintenance routines for your vehicle care.
Adding Fresh Oil to Your Vehicle

Once you’ve drained the old oil and replaced the drain plug, it’s time to add fresh oil to your vehicle. Start by locating the oil fill cap, usually on top of the engine. Remove the cap and pour in the recommended amount of oil, paying attention to the correct oil viscosity for your vehicle. Using a funnel can help prevent spills. Consider whether you want to add oil additives; some can improve engine performance or protect against wear. Be cautious not to overfill—check your owner’s manual for the right oil capacity. After adding the oil, replace the cap securely. This step guarantees your engine has the proper lubrication needed for smooth operation and longevity.
Checking Oil Levels and Final Inspection

After adding fresh oil, it’s important to check the oil level to make sure it’s at the proper mark. Perform an oil level check by removing the dipstick, wiping it clean, then reinserting it fully before pulling it out again. Look for the oil level to be between the minimum and maximum lines. During the final inspection, examine the surrounding area for leaks or spills, and ensure the oil cap is secure. Visualize the scene:
Check the oil level after adding fresh oil; ensure it’s between the minimum and maximum marks for safe operation.
- You see a clean dipstick with a shiny oil film at the correct level
- The engine bay is free of drips and excess oil
- The oil cap is tightly fastened, confirming no leaks or loose fittings
This final inspection confirms your oil change was successful and your vehicle is ready to run smoothly. Taking these steps ensures safety and ideal engine performance.
Proper Disposal of Used Oil and Clean-up
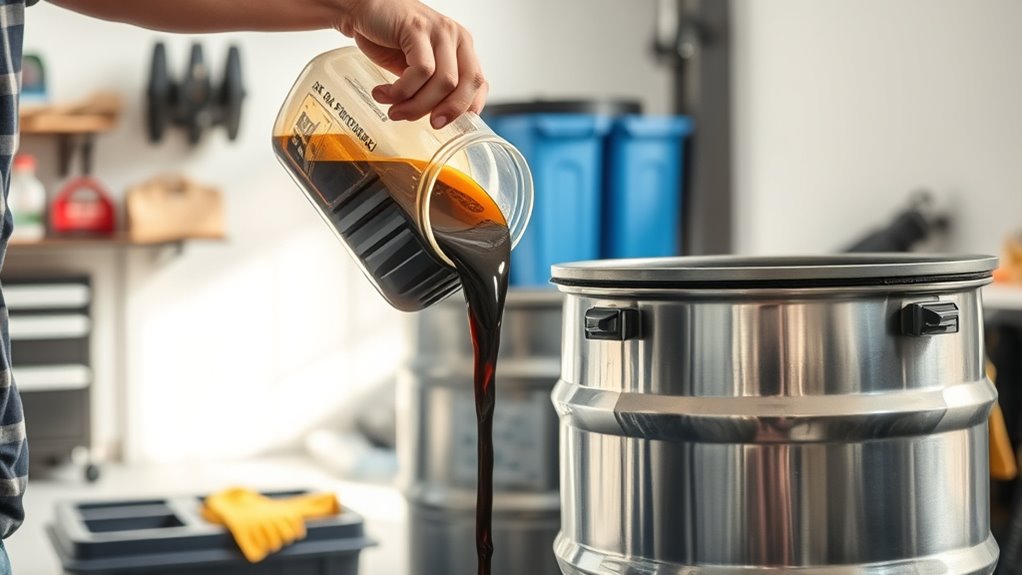
Proper disposal of used oil is essential to protect the environment and prevent potential hazards. Always store used oil in a sealed, approved container and follow local environmental regulations. Never pour used oil down drains or onto the ground. Instead, take it to a certified waste oil recycling center. Recycling helps reduce pollution and conserves resources.
| Step | Action |
|---|---|
| 1 | Collect used oil in a clean, approved container |
| 2 | Transport it to a licensed waste oil recycling facility |
| 3 | Clean your tools and workspace thoroughly |
| 4 | Dispose of used rags safely, following local guidelines |
This approach guarantees safe disposal, protects the environment, and complies with regulations.
Frequently Asked Questions
How Often Should I Change My Vehicle’s Oil at Home?
You should change your vehicle’s oil every 3,000 to 5,000 miles, depending on your car’s oil lifespan and mileage guidelines. Regular oil changes help maintain engine performance and prevent damage. Check your owner’s manual for specific recommendations, as some newer vehicles can go longer between changes. Keep an eye on oil quality and mileage to guarantee you stay within ideal intervals for a smooth, efficient ride.
Can I Use Synthetic Oil for My Oil Change?
Yes, you can use synthetic oil for your oil change. Think of synthetic oil like a high-performance sports car engine—designed for better protection and efficiency. Synthetic oil benefits include improved lubrication, longer intervals between changes, and better temperature resistance. Just confirm oil compatibility with your vehicle’s specifications. Switching to synthetic is often a smart choice, especially if you want your engine to run smoothly longer and withstand tougher conditions.
What Are Signs That My Oil Needs Changing Sooner?
You’ll notice your oil needs changing sooner if it becomes dark or discolored, indicating it’s contaminated or breaking down. Engine noise, like knocking or ticking sounds, can also signal degraded oil that’s no longer lubricating properly. Don’t ignore these signs; addressing them promptly keeps your engine running smoothly. Regularly check your oil level and condition, especially if you drive long distances or in harsh conditions, to catch issues early.
Is It Necessary to Replace the Oil Filter With Every Oil Change?
Yes, you should replace the oil filter with every oil change. It’s essential because filters collect contaminants, and skipping replacements can cause clogs, contamination, and engine damage. Follow the recommended replacement interval to maintain ideal engine performance. Regularly changing the oil filter ensures your vehicle’s critical components stay clean and functioning smoothly. So, always swap out the filter during each oil change for a safer, smoother drive.
How Do I Reset the Oil Change Light After Completing the Service?
To reset the oil change light after your service, turn on your ignition without starting the engine. Press and hold the trip odometer button, then turn the key to the “on” position. Keep holding the button until the oil change light blinks or turns off, indicating the reset procedure is complete. Release the button, start your engine, and make certain the oil change light stays off.
Conclusion
Changing your oil at home saves you money and gives you a sense of accomplishment. Did you know that DIY oil changes can reduce waste and environmental impact by up to 30%? By following these simple steps, you’re not only caring for your vehicle but also helping the planet. With a little effort, you’ll keep your engine running smoothly and extend its lifespan. So, give it a try—you’ve got this!