To add ambient lights to your car, start by gathering essentials like LED strips, a power supply, connectors, and adhesives. Plan where you’ll place the lights to avoid heat or moving parts, then connect the system to a fused power source while disconnecting the battery for safety. Secure the strips and hide wiring behind panels for a clean look. Finally, test and adjust brightness and colors to create your perfect mood—more tips await if you keep exploring.
Key Takeaways
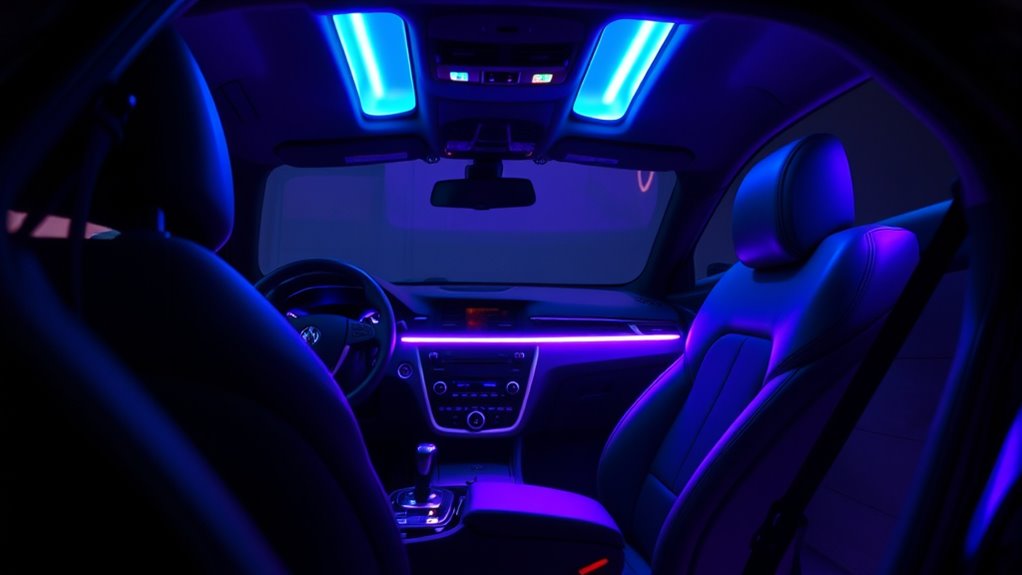
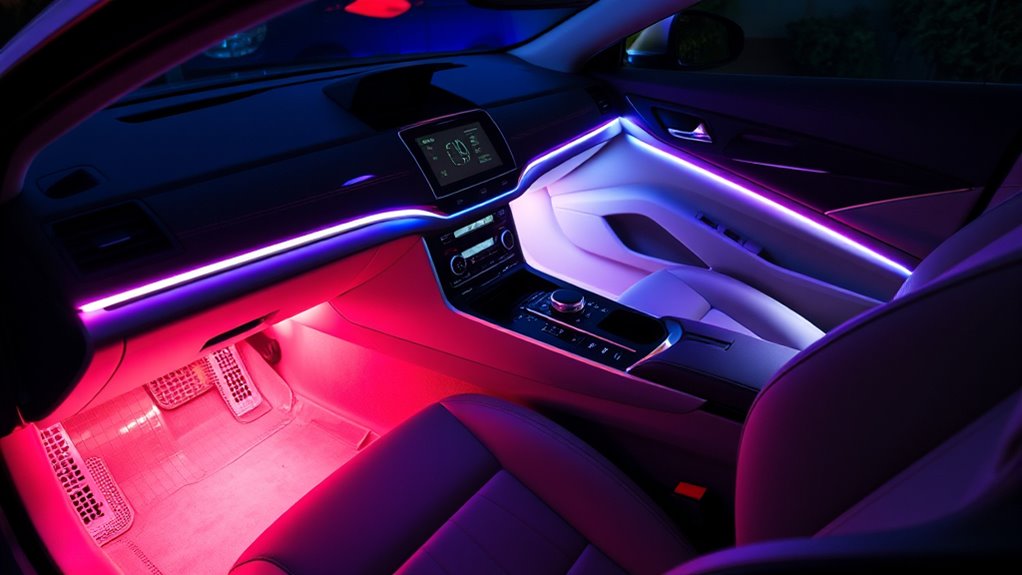
- Plan your lighting layout, selecting areas like footwells and dashboard for optimal ambiance.
- Gather materials such as LED strips, power supply, connectors, and mounting tools before starting.
- Connect the LED strips to a suitable power source with proper grounding and fuse protection.
- Secure wiring neatly behind panels or under carpets using clips or tape for a clean look.
- Test, adjust brightness and colors, and ensure all connections are secure before finalizing installation.

IIWEY N6 360° Dash Cam 4 Channel, 5.8G WiFi-6 (up to 20MB/s) with App, Free 128GB Card, FHD Front & Rear Inside Dash Cam for Car, 8 IR Lights Night Vision, GPS, 24/7 Parking Mode, G-Sensor
TRUE 4-CHANNEL 360° DEGREE COVERAGE – IIWEY N6 records ultra FHD video front, rear, and both sides simultaneously...
As an affiliate, we earn on qualifying purchases.
Gathering Your Materials and Tools
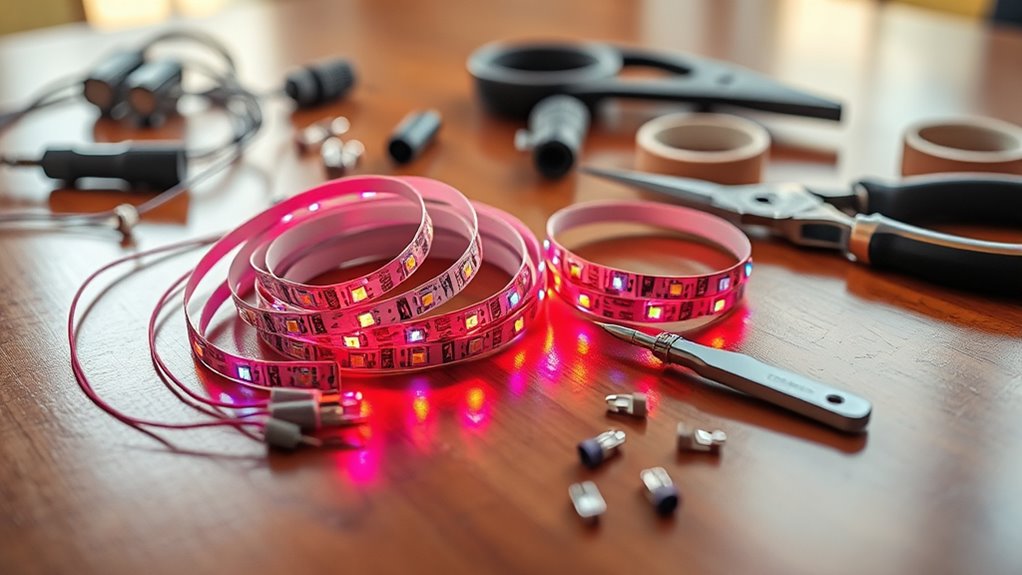
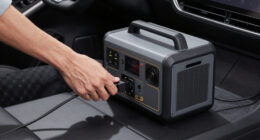
Before you begin your DIY ambient interior lighting project, gathering all the necessary materials and tools is vital. Start with a reliable power supply to guarantee your lights run smoothly without flickering or dimming. Choose a compatible power source, such as a 12V DC adapter, that matches your LED strip requirements. Next, consider your adhesive options; double-sided tape or mounting clips work well for secure, clean installation on your car’s interior surfaces. Make sure to have scissors or wire cutters ready to trim your LED strips if needed. Additionally, gather any connectors, extension cables, and a basic toolkit with screwdrivers and pliers. Having everything organized beforehand streamlines the process, saves time, and helps prevent missing essential components during your installation. Ensuring your setup has proper color accuracy will enhance the overall visual effect of your ambient lighting. Also, reviewing installation safety tips can help you avoid electrical mishaps and ensure a secure, long-lasting setup. Considering wire management techniques can further improve the appearance and safety of your wiring, and understanding electrical principles can help you troubleshoot any issues that arise during installation. Incorporating a testing procedure before final installation can identify potential problems early and ensure your lighting functions correctly.

MaxxHaul 50243 Foldable Hitch N Roll Cargo Carrier Cart With Quick Detachable Basket Rack With 10 inch Flat Free Tires for Home Camp Travel Ranch SUV Up to 400 lb. Capacity
Solid Steel Durability: Constructed from solid steel, this cargo carrier features a resilient powder-coated finish, ensuring long-lasting use...
As an affiliate, we earn on qualifying purchases.
Planning Your Lighting Layout
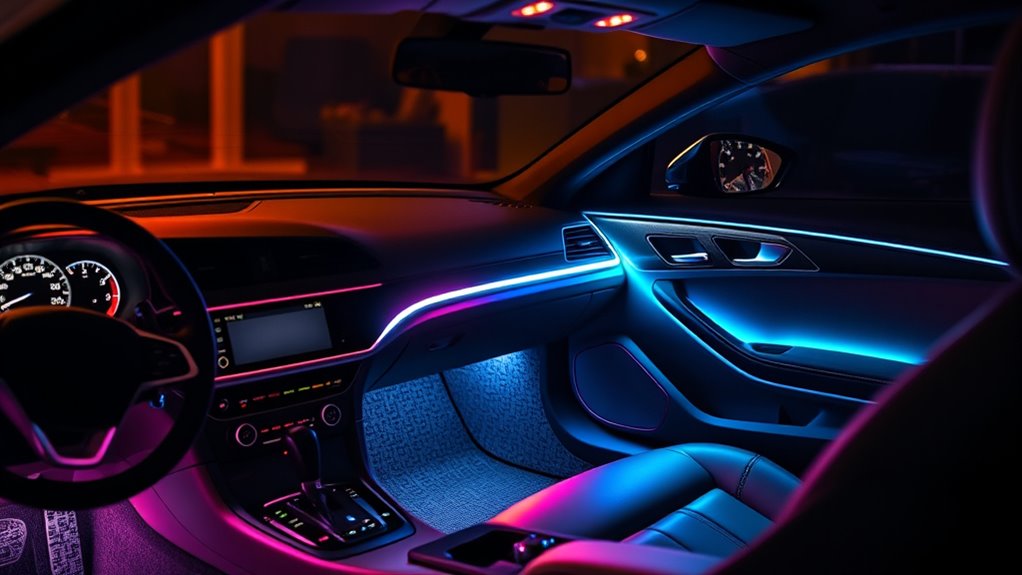
Planning your lighting layout is a crucial step to guarantee your ambient interior lighting looks seamless and achieves the desired effect. Start by deciding where you want the most illumination, like footwells, dashboard, or ceiling. Consider how light placement affects the overall ambiance, avoiding cluttered or uneven spots. Think about color coordination; choose colors that complement your car’s interior and mood. Map out your LED strip or light positions before installation to visualize the final look. Keep accessibility in mind, ensuring you can easily reach controls or adjust lighting if needed. A well-planned layout minimizes the need for adjustments later and ensures your ambient lighting enhances the interior seamlessly and effectively. Incorporating Free Floating techniques can help you create a more natural and immersive lighting experience. Additionally, understanding lighting placement principles can further optimize the effectiveness and aesthetic appeal of your setup. Paying attention to lighting distribution ensures even illumination and reduces dark spots or overly bright areas, creating a more balanced environment. Proper lighting system design is essential to prevent glare and ensure safety while maintaining a stylish appearance.

Aluminum Diamond Plate Enclosed Trailer, 59 x 30 x 28 inches, 800 lbs Capacity, Motorcycle Car Pull Behind
DIMENSIONS: Spacious enclosed trailer measuring 59" x 30" x 28" exterior with interior dimensions of 44" x 28"...
As an affiliate, we earn on qualifying purchases.
Connecting the Power Source
Connecting the power source is the next step to bring your ambient lighting to life. To do this safely, ensure you prioritize battery safety by disconnecting the car battery before beginning. This prevents accidental short circuits or shocks. When connecting the lights, use a fuse installation to protect your system; install a fuse close to the power source to prevent overloads or electrical damage. Choose a fuse rated for your light strip’s power requirements, and always double-check connections for secure contact. Avoid splicing into high-current circuits unless you’re confident in your wiring skills. Properly grounding your lights is essential to prevent electrical issues and ensure smooth operation. Additionally, understanding the electrical system of your vehicle can help you identify suitable circuits for your ambient lights. Taking these precautions guarantees your ambient lighting setup is both safe and reliable. Remember to consult your vehicle’s electrical wiring diagram to locate the best circuit for your installation. Being aware of electrical safety practices can further protect you during installation. Proper knowledge of Rhythm Failure concepts can also help troubleshoot any unexpected electrical issues that may arise during setup. Incorporating fuse protection into your wiring will further safeguard your system from potential electrical faults.

Adventurer Pro Rooftop Tent Hard Shell with USB Outlet, Side Awning, Replaceable Rain Fly&Luggage Racks for 4 Season Camping, Aluminum Pop Up 2-3 Person Roof Top Tent for Truck Jeep SUV Van Trailer
[Upgraded Rooftop Tent Hardshell to 100% Market Excellence] - HEYFUN roof top tent RTT, directly from the industry-leading...
As an affiliate, we earn on qualifying purchases.
Installing the Ambient Light Strips
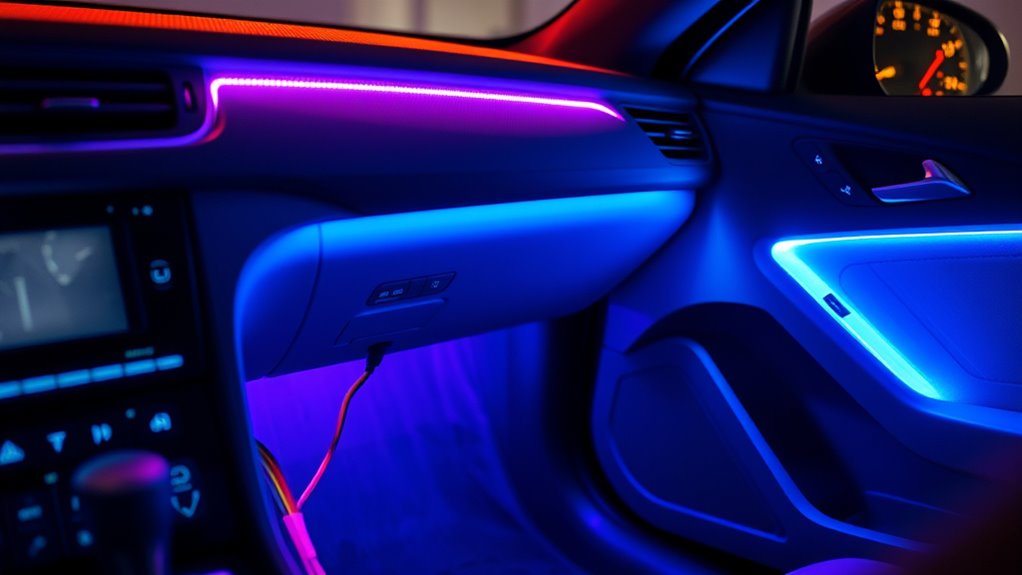
Have you chosen the perfect location for your ambient light strips? Once you’ve decided, it’s time to install them. Start by selecting the right LED strip types, such as flexible or rigid, based on your space. Flexible LED strips are easier to contour along curves, making installation smoother. Next, consider your color options; many strips offer multiple colors or even color-changing features, so pick what best fits your style. Carefully peel off the adhesive backing and press the strip firmly into place, ensuring it follows the contours without gaps. Avoid stretching the strip, as this can damage the LEDs. Keep the strips away from moving parts or areas prone to heat. Proper placement and secure attachment will ensure your ambient lighting looks professional and functions flawlessly. Energy-efficient LED technology can help reduce power consumption and prolong the lifespan of your lighting setup. Additionally, incorporating smart home automation can enable you to control your ambient lights remotely or set schedules for a seamless experience. To maximize installation durability, make sure to seal any connections properly and consider protective coverings if necessary. Using proper wiring techniques ensures that your setup remains safe and reliable over time. Paying attention to fire safety precautions can help prevent potential hazards associated with electrical components and wiring.
Securing and Concealing Wiring
To keep your space tidy, tuck the wires out of sight along edges or behind furniture. Use tape or clips to secure the cables firmly in place, preventing them from sagging or becoming a tripping hazard. Properly securing and concealing the wiring makes your lighting look professional and safe. Incorporating simple organizing solutions can further streamline your setup and maintain a clutter-free appearance. Additionally, considering electrical safety guidelines ensures your installation remains secure and compliant with standards. Using high-quality materials for securing cables can also enhance durability and safety over time. Consulting reliable power guidelines can help you choose the best methods for your specific setup. Applying cable management techniques can further improve the overall safety and appearance of your interior lighting.
Tucking Wires Out of Sight
As you install your ambient lighting, keeping wires hidden enhances the clean, professional look of your space. Good wire management is key to achieving this. Tuck wires along the car’s contours, using existing trim panels or hidden channels to conceal them securely. Run wiring behind the dashboard or under carpets to maintain a sleek appearance. Stealth wiring involves routing cables carefully so they’re out of sight, preventing any distraction or clutter. Use zip ties or clips sparingly to keep wires tight and organized, but avoid over-tightening, which can damage the wires. Remember, the goal is a seamless setup that looks intentional and tidy. Taking the time to tuck wires properly ensures your ambient lighting looks polished and professional, elevating your car’s interior ambiance. Proper planning and understanding of cable routes can further improve your wire concealment and overall system reliability.
Securing With Tape or Clips
Securing your wiring with tape or clips helps keep cables firmly in place and out of sight. Choose the right adhesive options, such as double-sided tape or cable clips with adhesive backing, to attach wires securely to interior surfaces. For more robust holding, consider clip types like snap-in or screw-mounted clips, which can be fastened to panels or trim. Use adhesive options on flat surfaces and clips where more strength is needed, especially near footwells or door sills. Be sure to choose clips that match your wire diameter to prevent damage and ensure a snug fit. Properly securing wires prevents accidental disconnections, reduces clutter, and keeps your interior neat. Always test your setup before finalizing to confirm everything stays firmly in place.
Testing and Customizing Your Ambient Lighting

Now that your lighting is installed, it’s time to test and personalize it. You can adjust the brightness to create the perfect mood and set custom colors that match your style. Experiment with these options until your ambient lighting feels just right. Incorporating smart appliances can further enhance your control over the lighting setup for a seamless experience.
Adjusting Brightness Levels
Adjusting brightness levels is essential to achieving the perfect ambient lighting for your space. Proper brightness adjustment ensures your car’s interior isn’t too harsh or too dim, creating a comfortable atmosphere. Use dimming techniques to fine-tune the light intensity, starting with low brightness and gradually increasing until you reach your preferred level. Test different settings during different times of day to see how the lighting interacts with natural light. Many LED strips or controllers allow you to easily modify brightness via remote or app, giving you quick control. Remember, the goal is to enhance visibility without causing glare or distraction. Take your time experimenting with various brightness levels until you find the perfect balance that suits your mood and needs.
Custom Color Settings
Testing and customizing your ambient lighting’s color settings is key to creating the perfect atmosphere. Start by using the user interface to select different colors and observe how they look in your car’s interior. Many lighting systems offer options for color calibration, allowing you to fine-tune hues for consistency and accuracy. Adjust the sliders or color wheels to find the shade that best matches your mood or decor. Don’t forget to test the settings under different lighting conditions to ensure they remain appealing. Once satisfied, save your preferred configurations, so you can easily switch between them. Proper calibration and thoughtful customization help you achieve a seamless, personalized ambient environment that enhances your driving experience.
Frequently Asked Questions
What Safety Precautions Should I Take During Installation?
You should disconnect the car battery before starting to avoid electrical safety hazards. Keep a fire hazard in mind by ensuring all wiring is properly insulated and secured to prevent shorts. Use the correct tools and follow the manufacturer’s instructions carefully. Avoid working near flammable materials, and double-check connections before powering on. Staying cautious helps prevent accidents and keeps your installation safe and effective.
Can I Customize the Color and Brightness of the Lights?
Yes, you can customize the color and brightness of your ambient interior lights. Many LED kits come with remote controls or smartphone apps allowing you to select different colors for perfect mood lighting. You can also easily adjust the brightness to suit your preference, whether you want a subtle glow or vibrant illumination. This flexibility lets you personalize your car’s interior, creating a comfortable and stylish environment.
Will Installing Ambient Lights Affect My Vehicle’s Warranty?
Installing ambient lights might seem simple, but it can affect your vehicle warranty if you don’t follow manufacturer guidelines. You could void your warranty if the installation damages existing systems or isn’t reversible. To avoid issues, check your car’s warranty terms and adhere to the manufacturer’s recommendations. Proper installation and choosing compatible, non-invasive products will help keep your warranty intact while customizing your interior.
How Do I Troubleshoot if the Lights Don’t Turn On?
If your ambient lights don’t turn on, first check the power source to verify it’s connected and functioning. Then, inspect the wiring connections for loose or damaged wires. Make sure the switch is properly installed and switch it on. If it still doesn’t work, test the fuse related to the interior lighting circuit. Sometimes, replacing a blown fuse or securing wiring connections solves the issue quickly.
Are There Any Legal Restrictions on Interior Lighting in Cars?
You should check the legal restrictions and interior lighting laws in your area before installing ambient lights. Many regions have regulations about interior lighting, especially regarding color, brightness, and when they can be turned on. To avoid fines or issues, verify your lights won’t distract other drivers or violate specific rules. Always research local laws or consult your vehicle’s regulations to keep your interior lighting compliant and safe.
Conclusion
With your ambient lighting now softly illuminating your space, you’ve gently brought a new mood into your car. As you enjoy the subtle glow, remember that this cozy upgrade is just the beginning of customizing your environment. Each detail, carefully placed, whispers your personal style. Now, with everything in place, you can relax and let the gentle lights guide your journey, turning your car into a haven of comfort and calm—an effortless touch that truly makes a difference.