To fix your sagging headliner, start by removing the interior trim and carefully detaching the old fabric from the foam board. Clean the surface thoroughly, then choose a suitable adhesive like spray glue or contact cement and apply it evenly. Press the new fabric firmly, smoothing out wrinkles and aligning patterns if possible. Using the right techniques and tools will give you a long-lasting repair—if you want detailed steps, just keep exploring.
Key Takeaways
- Identify causes like adhesive breakdown or foam deterioration to prevent future sagging.
- Remove old fabric carefully and thoroughly clean the surface before reapplying.
- Use appropriate adhesives, such as spray glue or contact cement, for even and strong bonding.
- Carefully stretch and align new fabric to ensure a smooth, tight fit with no wrinkles.
- Maintain interior conditions by minimizing sun exposure and controlling humidity to prolong headliner repair.

50 Kits Car Roof Headliner Repair Kit, 202Pcs Rivets Repair Button Auto Roof Snap Rivets Retainer for Interior Ceiling Cloth Fixing Repair Buckle with Installation Tool (Grey Grid)
Comprehensive Auto Headliner Repair Kit: The package includes 50 car roof buckles, 50 colorful push pins, one screwdriver,…
As an affiliate, we earn on qualifying purchases.
As an affiliate, we earn on qualifying purchases.
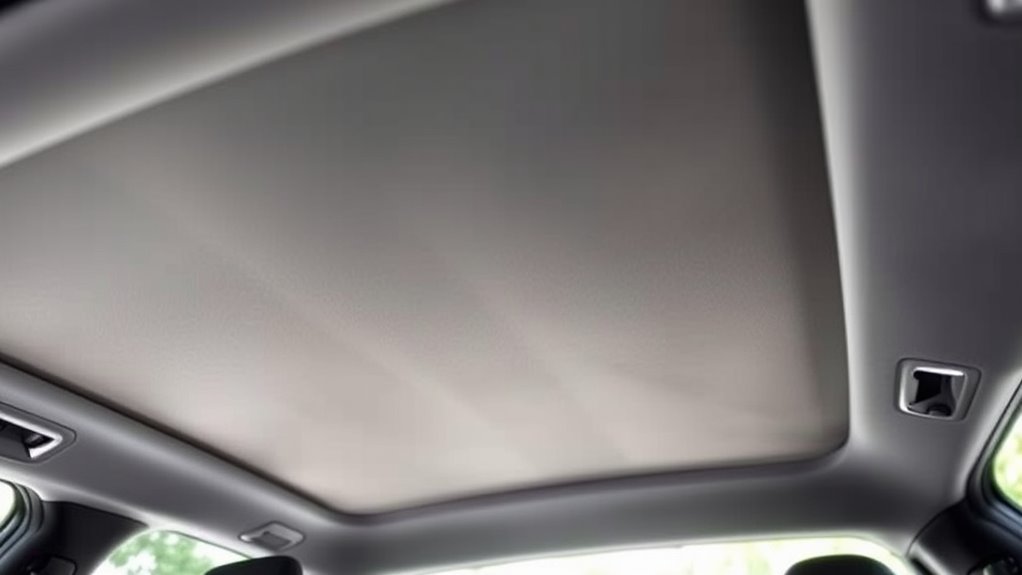
Identifying the Causes of a Sagging Headliner
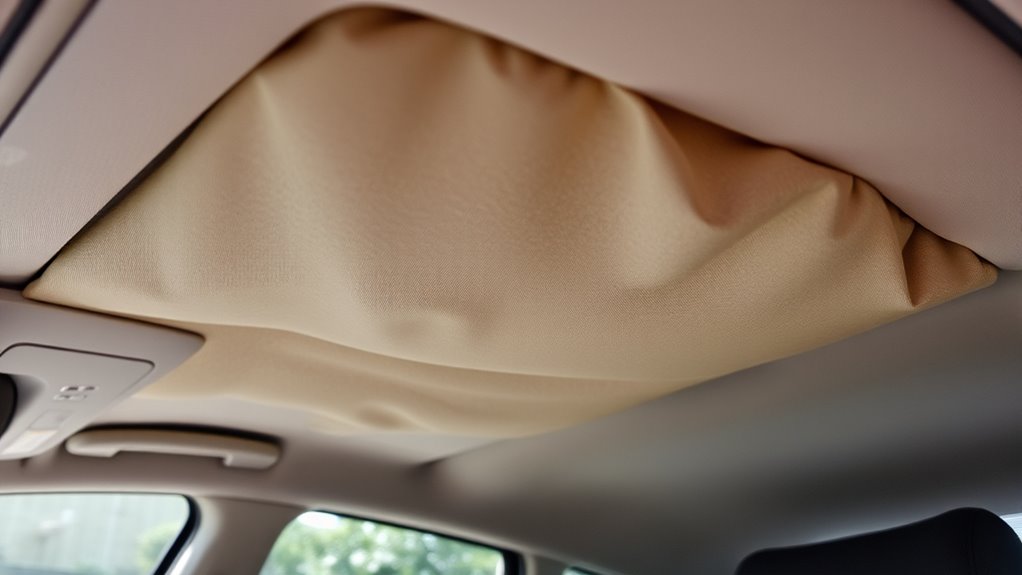
A sagging headliner usually results from the breakdown of adhesive or the deterioration of the foam backing behind the fabric. Over time, exposure to heat and humidity causes the glue to weaken, making the fabric lose its grip. You might notice the fabric separating from the roof or hanging unevenly. The fabric patterns and headliner color can also help you identify the issue—if the pattern appears distorted or faded, it’s a sign the material is degrading. Sometimes, the foam backing becomes brittle or crumbly, pushing the fabric away. Recognizing these signs early helps you determine whether the sagging is due to adhesive failure or foam deterioration, guiding your repair approach effectively. Additionally, understanding the contrast ratio of your vehicle’s interior lighting can help in assessing how the headliner appearance might be affected under different lighting conditions. Being aware of material degradation processes can further aid in choosing the most appropriate repair method.

Hiksuky Suede Auto Headliner Fabric 98" L × 60" W with Foam Backing – Black Interior Replacement Material for Car/Truck/SUV/RV Roof, Tube Packaging – Home Repair/DIY Headliner Material
Better Packaging:We use tube packaging for our 98" L × 60" W black headliner fabric with 1/9" foam…
As an affiliate, we earn on qualifying purchases.
As an affiliate, we earn on qualifying purchases.
Gathering the Necessary Tools and Materials
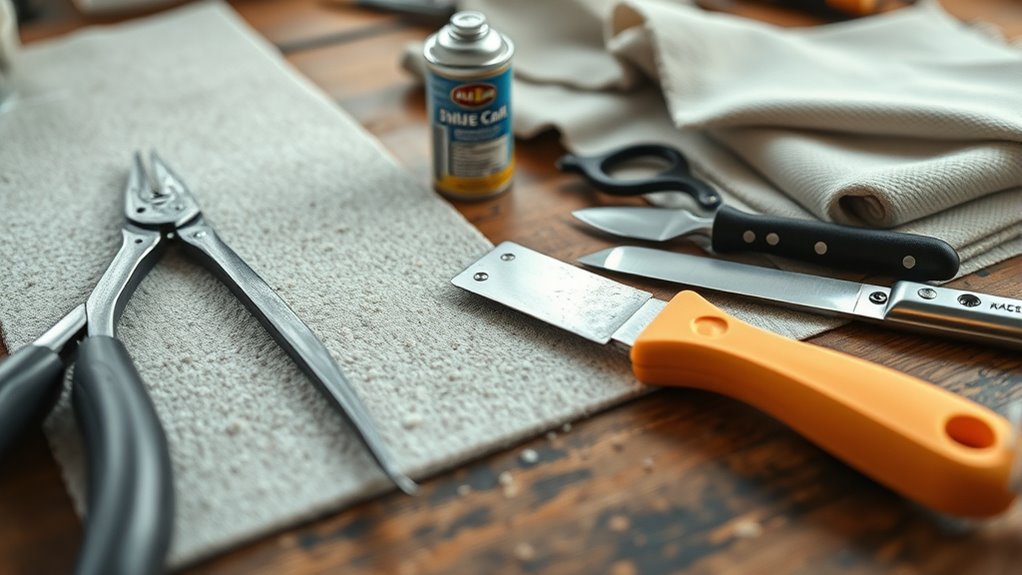
Before you begin fixing a sagging headliner, it’s essential to gather all the necessary tools and materials to make sure a smooth repair process. Start with fabric selection—choose a fabric that matches your car’s interior and is suitable for headliner repair. Next, pick the right adhesive types; spray adhesives, contact cement, or fabric glue work well. You’ll also need tools like a screwdriver or trim removal tool to carefully detach the headliner board, along with a clean cloth for prepping surfaces. Having scissors or a utility knife will help you trim the fabric to size. Make sure to have gloves and a mask for safety, especially when working with strong adhesives. Additionally, consider European cloud innovation options for sourcing eco-friendly or specialized repair materials. Using high-quality adhesives can significantly improve the longevity of your repair. It’s also helpful to consult vetted sources or professional guides to ensure proper techniques and avoid common pitfalls. Incorporating innovative repair methods can further enhance the durability of your headliner fix, and exploring eco-friendly materials can contribute to a more sustainable repair process.

3M Headliner & Fabric Adhesive, 18.1 oz., Exceptional Strength Bonds Heavyweight Automotive Fabrics to Metal Surfaces, For Bonding Headlines, Carpet, Foam and Others, Quick & Easy Application (38808)
Recommended for automotive headliners in vehicles.
As an affiliate, we earn on qualifying purchases.
As an affiliate, we earn on qualifying purchases.
Removing the Old Headliner Fabric
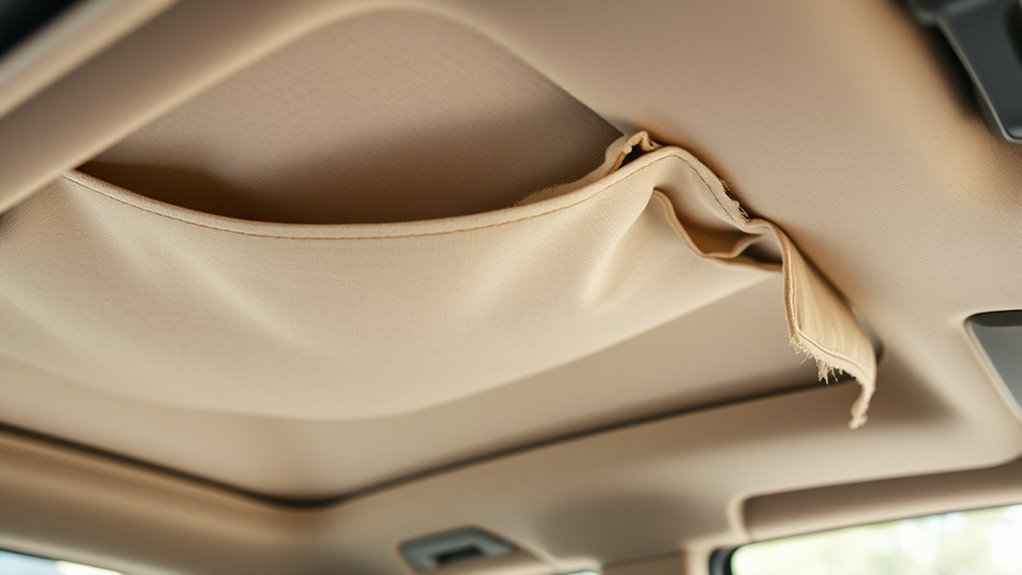
To remove the old headliner fabric, start by carefully detaching the headliner board from the vehicle’s roof. Gently peel away the fabric, being mindful of fabric stretching that could weaken the material. Use a utility knife or seam ripper to loosen any remaining adhesive or fabric edges. When selecting adhesive for reattachment, choose a spray adhesive designed for automotive headliners, guaranteeing a strong, flexible bond.
| Tip | Explanation |
|---|---|
| Be gentle | Prevent fabric stretching or tearing during removal |
| Choose proper adhesive | Ensures durability and easy reapplication |
| Use tools carefully | Avoid damaging the headliner board |
This approach makes removing the fabric straightforward and prepares you for a smooth reattachment.

Poraxy 19Pcs Trim Removal Tool, Car Panel Dashboard Door Audio Trim Removal Tool Kit, Auto Clip Pliers Fastener Remover Set, Plastic Pry Tool, Automotive Upholstery Removal Kit
19 Pcs Trim removal tools – Works great for car audio/radio system installing or removing, door panel, moldings,…
As an affiliate, we earn on qualifying purchases.
As an affiliate, we earn on qualifying purchases.
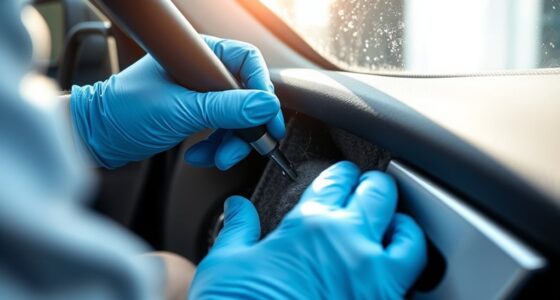
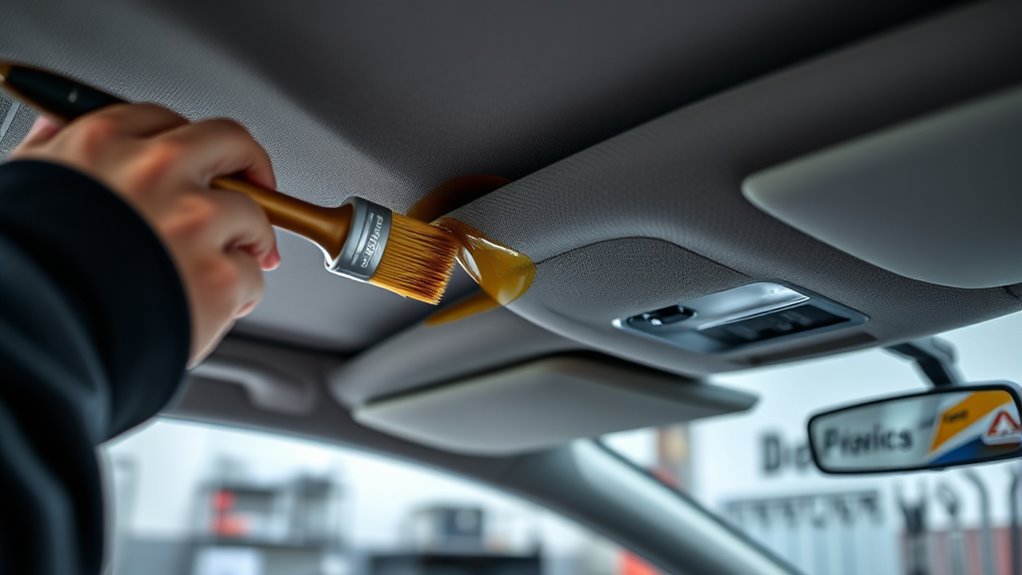
Preparing the Surface for Reattachment
Before reattaching the headliner, you need to prepare the surface properly. Make sure to clean it thoroughly to remove any dust or residue, which helps the adhesive bond better. Also, confirm the surface is completely dry to prevent future sagging or peeling. For optimal results, consider using a suitable primer or adhesion promoter to enhance the bond between the headliner material and the surface adhesion techniques. Additionally, selecting the right adhesive and applying it correctly can significantly improve the durability of your repair. Ensuring proper surface preparation is essential for a long-lasting fix. Proper surface cleaning methods can further improve the overall adhesion and longevity of your repair. Using the correct piercing aftercare practices can also help maintain the integrity of the repaired headliner.
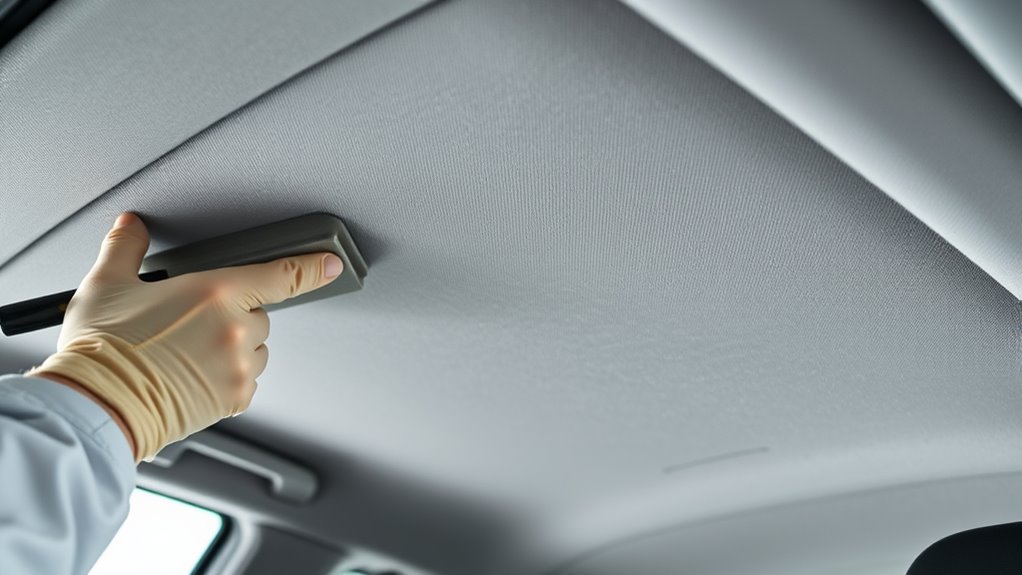
Clean the Surface Thoroughly
Start by removing any loose debris, dust, or grease from the headliner surface using a clean cloth or a soft brush. Effective cleaning techniques are essential for proper surface preparation, ensuring the adhesive bonds well. Use a gentle cleaner designed for automotive interiors or a mixture of mild soap and water to wipe down the area thoroughly. Avoid harsh chemicals that could damage the fabric or foam backing. Make sure to remove all residues, dirt, and oils, as these can compromise the adhesion of the new lining. Take your time to clean every inch of the surface, paying close attention to creases and edges. Proper surface preparation guarantees a smooth, secure reattachment, ultimately extending the life of your repaired headliner. Additionally, understanding psychological manipulation tactics can help you recognize and avoid potential setbacks during the repair process. Remember that adhesive quality plays a crucial role in the durability of your repair, so choose the right product for your specific headliner material. Ensuring the surface cleanliness is optimal will also contribute to a more reliable and long-lasting fix. Incorporating nanotechnology-based adhesives can further enhance the bond strength and longevity of your repair, providing a more durable solution. For best results, consider using air purifiers to maintain a clean environment while working on your car, which helps prevent dust and debris from settling on the surface during the repair process.
Ensure Surface Is Dry
After thoroughly cleaning the surface, double-check that it’s completely dry before proceeding. Moisture can interfere with adhesive bonding, causing your repair to fail. When choosing fabric, opt for a material that matches the original headliner for a seamless look. Make sure the surface is free of any residual moisture or dust, which could compromise adhesion. Consider different adhesive types, such as spray adhesives or contact cement, and select one suitable for fabric and your car’s interior. Follow the manufacturer’s instructions carefully, especially regarding drying times and application techniques. A dry, clean surface guarantees a strong bond and a smooth finish. Additionally, understanding adhesive bonding science can help you select the most effective adhesive for your repair. Ensuring proper surface preparation is essential for a durable and professional-looking headliner reattachment. Taking this step seriously helps ensure your headliner stays in place and looks professional after reattachment.
Applying Adhesive for a Secure Bond
To guarantee your headliner stays in place, selecting the right adhesive is key. You also want to apply it evenly, covering all necessary areas for a strong bond. When done correctly, these steps will give your repair lasting results.
Choosing the Right Adhesive
Choosing the right adhesive is essential for ensuring your headliner stays securely in place. You need to consider fabric patterns because some adhesives work better with certain materials, preventing wrinkling or bubbling. There are various adhesive types available, such as spray adhesives, contact cement, or thermal adhesives. Spray adhesives are user-friendly and provide even coverage, ideal for fabric patterns that require a smooth finish. Contact cement offers a strong bond but can be messier to work with. Thermal adhesives are quick-drying and effective for lightweight fabrics. Select an adhesive that matches your headliner’s fabric type and your comfort level with application. Using the correct adhesive type will help you achieve a durable, long-lasting repair without damaging the fabric or compromising the headliner’s appearance. Properly selecting the right adhesive also minimizes the risk of adhesive failure, ensuring a more reliable and professional-looking repair. Additionally, understanding adhesive compatibility with your specific fabric can significantly improve the longevity of your repair. When choosing an adhesive, consider the material properties of your headliner fabric to ensure optimal bonding strength and durability. Being aware of the environmental conditions during application can also influence the adhesive’s performance and bond strength. Consulting with professionals or researching adhesive options can further enhance your repair process and results.
Proper Application Techniques
Applying adhesive correctly is essential for a secure and lasting headliner repair. To guarantee proper bonding, consider the fabric patterns and choose the right adhesive type. Spray adhesives work best for even application, avoiding lumps or gaps. When applying, keep the headliner fabric taut, matching the pattern carefully to prevent wrinkles. Use a steady, sweeping motion to cover the entire surface, ensuring full contact. Be mindful of the fabric’s design—align patterns before pressing down to maintain a seamless look. Select an adhesive that bonds well with both fabric and foam backing, providing flexibility and durability. Proper technique guarantees your repair holds up over time, giving your car’s interior a fresh, professional finish.
Ensuring Full Coverage
Ensuring full coverage with adhesive is essential for a secure and long-lasting headliner repair. Different headliner materials, like foam-backed fabric or vinyl, require consistent application to prevent future sagging. To avoid issues caused by sagging causes such as moisture or prolonged sun exposure, apply the adhesive evenly across the entire surface. Use a spray or brush to ensure no spots are missed, especially around the edges. Proper coverage guarantees a strong bond between the headliner material and the backing board, preventing future detachment. Take your time during application to avoid gaps or uneven spots. Remember, thorough coverage is key to a durable fix that withstands the stresses of daily use and environmental factors. Additionally, understanding the causes of headliner sagging can help you take preventative measures for long-term results. Adhesive application techniques are crucial for achieving a uniform bond and avoiding future problems.
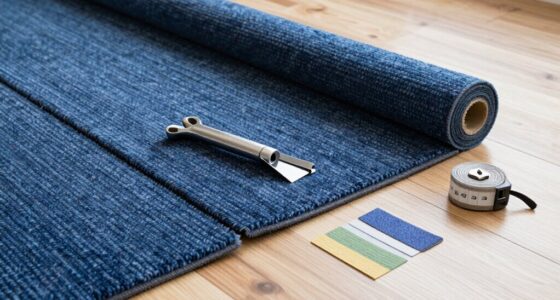
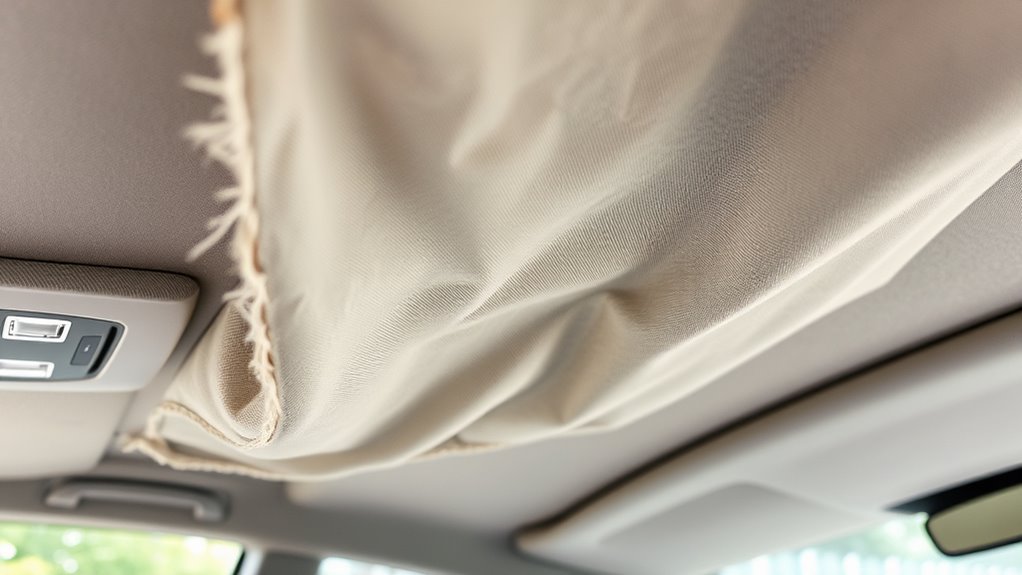
Reattaching or Replacing the Headliner Fabric

If your headliner fabric is sagging or coming loose, reattaching or replacing it is often the most effective fix. You’ll need to choose the right fabric and adhesive to guarantee a durable repair. Consider fabric selection carefully—look for materials that match your car’s interior and are easy to handle. When it comes to adhesive types, options like spray adhesives or contact cement work well, providing strong bonds without mess. Visualize lifting the old fabric, cleaning the surface thoroughly, then carefully applying the adhesive. As you press the fabric back into place, imagine smoothing out wrinkles and ensuring an even, tight fit. This approach restores your roof liner’s appearance and stability, giving your car’s interior a fresh, finished look.
Using Replacement Kits for a Quick Fix

Using replacement headliner kits offers a convenient and time-saving solution when your ceiling fabric is sagging or damaged. These kits typically include a custom replacement fabric tailored to your vehicle’s make and model, ensuring a perfect fit. To achieve the best results, focus on adhesive selection; choose a high-quality spray adhesive designed specifically for headliners. Proper adhesive guarantees a secure bond and helps prevent future sagging. Before starting, remove any remaining fabric and thoroughly clean the headliner board. Follow the kit instructions carefully—apply adhesive evenly, press the new fabric into place, and smooth out air bubbles. This quick fix can restore your car’s interior with minimal effort, saving you from costly professional repairs while giving your vehicle a fresh, clean look.
Tips for Preventing Future Sagging
To keep your headliner looking new longer, it’s important to take proactive steps to prevent future sagging. Sun damage and humidity effects are major contributors to deterioration. To minimize these issues, consider parking in shaded areas or using a sunshade to block UV rays that weaken the adhesive. Keep your car well-ventilated to control humidity levels, which can cause the fabric to loosen and sag. Additionally, avoid exposing your vehicle to extreme temperature fluctuations. You can also:
- Use a windshield sunshade regularly
- Park in shaded or covered areas
- Maintain consistent interior temperatures
These simple habits help preserve the adhesive and fabric, reducing the risk of future sagging and keeping your headliner tight and looking fresh for longer.
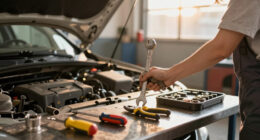
When to Seek Professional Repair Services
Knowing when to call in a professional can guarantee you time and assure the best fix for your headliner. If your headliner is severely sagging, tearing, or if previous DIY attempts haven’t worked, professional intervention is your best option. Also, consider the cost implications—while DIY repairs are cheaper upfront, extensive damage may lead to higher expenses if not properly fixed. If you’re unsure about the severity of the problem or lack experience, consulting a professional can prevent further damage and guarantee a durable repair. Skilled technicians can reattach or replace the headliner efficiently, saving you time and frustration. Ultimately, if the damage is extensive or you’re hesitant about DIY methods, seeking professional repair services is a smart investment.
Frequently Asked Questions
How Long Does a Typical Headliner Repair Take?
A typical headliner repair takes about 2 to 4 hours. You’ll start by removing the headliner, which can take 30 minutes to an hour, depending on your experience. After applying new adhesive, you need to allow sufficient drying time—usually 1 to 2 hours—before reattaching the headliner. Overall, it’s a straightforward process that fits into a half-day project if you follow proper steps.
Can I Use Household Glue Instead of Specialized Adhesive?
Using household glue on your headliner is like trying to patch a delicate tapestry with duct tape—it’s not ideal. Household adhesives often lack the strength and flexibility needed for a lasting repair and can damage your fabric or cause further sagging. For a durable fix, stick with specialized automotive headliner adhesive. DIY alternatives might seem tempting, but they can compromise the quality and longevity of your repair, so choose wisely.
Is It Safe to Drive With a Sagging Headliner Temporarily?
You shouldn’t drive with a sagging headliner for long, but temporary fixes can be okay for short trips. For driving safety, make certain the loose fabric doesn’t obstruct your view or interfere with controls. Use a quick fix like clips or double-sided tape to hold it in place temporarily. However, avoid long-term driving with a sagging headliner, and plan a proper repair soon to prevent distractions or damage.
What Are the Signs That Professional Repair Is Necessary?
Think of your headliner as the roof’s delicate fabric curtain. If you notice early warning signs like loose edges, bubbling fabric, or persistent sagging that worsens over time, it’s time to call in a professional. Damage indicators such as tears, stains, or sagging that affects visibility or comfort show repair is necessary. Addressing these signs early prevents further damage and keeps your car’s interior looking sharp and safe.
Are There DIY Headliner Repair Kits Suitable for All Car Models?
You’ll find some DIY headliner repair kits are marketed as universal repair kits, but they might not work well for every car model. For the best results, look for model-specific adhesives designed for your vehicle’s make and year. These kits often include tailored components that guarantee a more secure and long-lasting fix. Always check compatibility before purchasing, so your headliner stays in place without issues.
Conclusion
By understanding the subtle signs and taking a few careful steps, you can restore your car’s interior charm without much fuss. A little patience and the right materials can work wonders, turning a sagging roof back into a smooth, pristine surface. Remember, if the task seems intimidating, seeking professional help isn’t a sign of defeat; it’s just a gentle reminder that some repairs are best left to the experts. Your car will thank you.