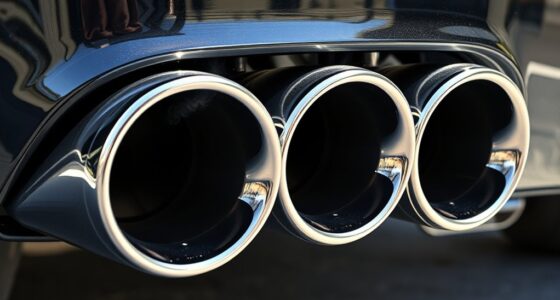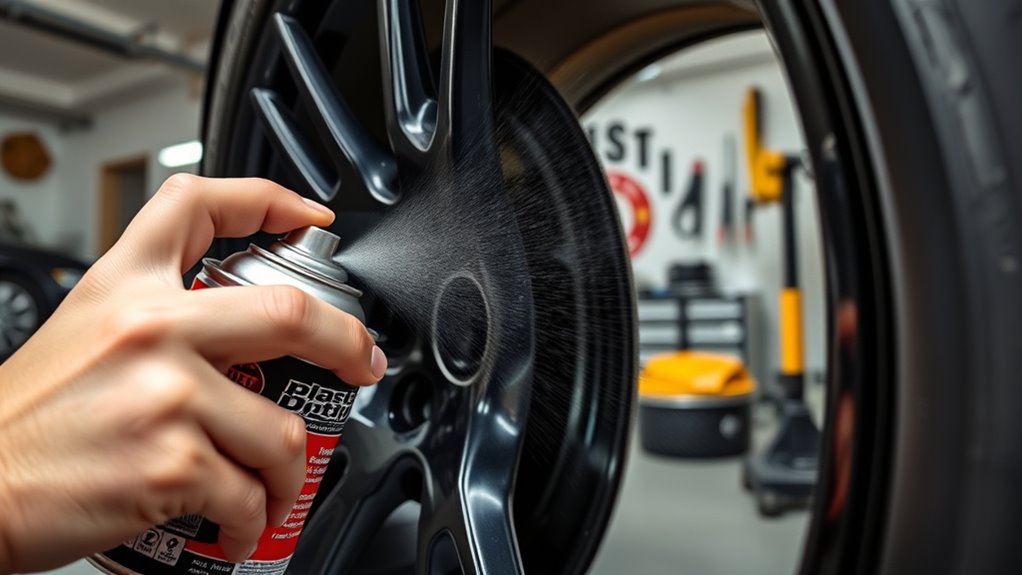

To paint your wheels or emblems with Plasti Dip, start by cleaning the surface thoroughly and applying a suitable primer if needed. Choose a color and finish that matches your style, then shake the can well. Spray thin, even coats, maintaining about 6-12 inches from the surface, and wait at least 30 minutes between layers. To get a smooth, professional look, focus on consistent coverage; more tips to perfect your application are just ahead.
Key Takeaways
- Clean and dry wheels or emblems thoroughly, removing dirt and grease for optimal adhesion.
- Apply a suitable primer compatible with Plasti Dip and the surface material.
- Shake the Plasti Dip can well and spray multiple thin, even coats from 6-12 inches away.
- Allow at least 30 minutes between coats and maintain a steady spray distance for a smooth finish.
- Remove or touch up with gentle solvents like isopropyl alcohol, ensuring proper surface prep for durability.

Chemical Guys, Exterior Express Car Wash Kit, Soap & Cleaner, On the Go
COMPLETE CAR DETAILING KIT (HOL546): Nine-piece touch-up and shine set covers tires, paint, interior, and glass for fast,...
As an affiliate, we earn on qualifying purchases.
Preparing Your Surface for Plasti Dip
Before applying Plasti Dip, it’s essential to prepare the surface properly to guarantee a smooth and durable finish. Start by thoroughly cleaning the surface to remove dirt, grease, and debris. Use a mild detergent and water, then dry completely. Surface cleaning ensures proper adhesion and prevents imperfections. Next, consider primer selection; while not always necessary, applying a suitable primer can enhance adhesion on certain surfaces, like plastics or textured areas. Choose a primer compatible with Plasti Dip and your surface material. Proper surface cleaning combined with the right primer sets a solid foundation for the dip. Additionally, surface preparation is crucial for achieving a professional-looking result and long-lasting durability. Color accuracy impacts overall image quality and should be considered if you plan to incorporate lighting or visual effects around your project. To ensure the best outcome, avoid applying Plasti Dip over damaged or uneven surfaces, as imperfections can show through the coating. Skipping these steps can lead to peeling or uneven coverage, so take your time to prepare your surface carefully before moving on.

Chemical Guys, 11-Piece Interior Car Detailing Kit, VRP, Nonsense & Glass
11-PIECE INTERIOR DETAILING KIT (HOL507): A car detailing kit for home detailers handling the full interior detail -...
As an affiliate, we earn on qualifying purchases.
Choosing the Right Colors and Finish

Selecting the right colors and finishes is key to achieving your desired look with Plasti Dip. When choosing colors, consider your vehicle’s overall color scheme and aim for good color coordination to guarantee a cohesive appearance. Bright or bold shades can make a statement, while subtle hues offer a more understated effect. The finish durability is equally important; gloss finishes provide a shiny, reflective surface, while matte finishes give a muted, non-reflective look. Think about how each finish will hold up over time and in different conditions. Your choice should reflect both your style preferences and practical needs. Carefully selecting the right color and finish will help you create a custom look that lasts and truly stands out. Additionally, understanding how Free Floating techniques can influence the final appearance may help you achieve a more professional or artistic effect. Considering UV Resistance can also ensure your paint maintains its vibrancy and integrity over time, especially when exposed to sunlight. Incorporating advanced application methods can further enhance the durability and overall quality of your finish. Embracing curiosity about different techniques and materials can lead to more innovative and personalized results. Exploring smart tools and accessories designed for DIY painting can also improve precision and ease during application.

36Pcs Car Detailing Kit, Car Detailing Brush Set, Car Cleaning Kit, Auto Detailing Tools for Interior Exterior Wheels, Professional Car Wash Accessories with Windshield Cleaning Tool and Storage Box
PROFESSIONAL 36PCS CAR DETAILING KIT: This all-in-one car cleaning kit includes car detailing drill brushes*4, car detailing brushes*5,...
As an affiliate, we earn on qualifying purchases.
Applying Plasti Dip: Step-by-Step Process
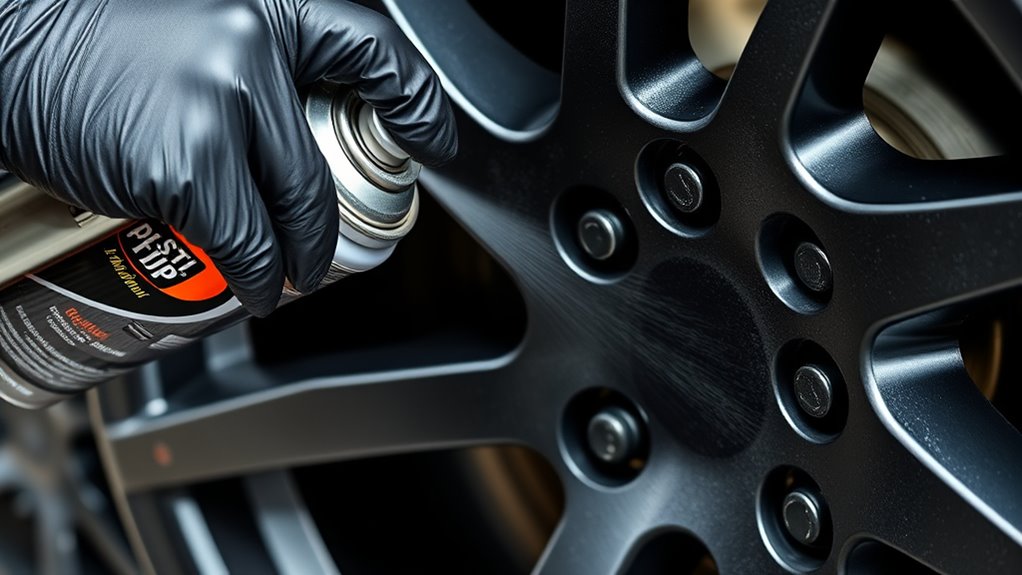
Once you’ve chosen your colors and finishes, it’s time to start applying the Plasti Dip. Begin by cleaning the surface thoroughly to remove dirt and grease, ensuring proper adhesion. Shake the can well and hold it about 6-12 inches from the surface. Apply thin, even coats using smooth, sweeping motions, overlapping slightly with each pass. Multiple coats improve durability considerations, making your finish more resistant to chipping and peeling. Allow each coat to dry for at least 30 minutes before applying the next. Keep in mind that applying too thick can lead to drips and uneven coverage. While Plasti Dip is generally eco-friendly, working in a well-ventilated area reduces environmental impact and exposure to fumes. Proper surface preparation, including cleaning and priming, is essential for a professional-looking finish. Additionally, controlling application thickness helps achieve a smooth, durable coating. Applying a proper number of coats ensures a more even and long-lasting result. Consistent application techniques are key to avoiding defects and achieving a flawless appearance. To further enhance the durability of your finish, consider using additional protective layers, especially if the item will be exposed to harsh conditions. Follow these steps for a durable, professional-looking finish.

Chemical Guys, 17-Piece Car Detailing Kit, Interior, Wheel & Wash Cleaners
EXTERIOR WASH WITH PROFESSIONAL SOAP AND BUCKET: Car detailing supplies like wash soap, Heavy Duty bucket with Dirt...
As an affiliate, we earn on qualifying purchases.
Tips for Achieving a Smooth and Even Coating
Achieving a smooth and even coating with Plasti Dip requires attention to technique and consistency. To guarantee a flawless finish, focus on these key tips:
Achieve a flawless Plasti Dip finish with consistent technique and gradual, overlapping coats.
- Maintain consistent spray distance, about 6-12 inches, to prevent uneven layers.
- Use smooth, overlapping strokes to promote color matching and avoid streaks.
- Apply light, multiple coats rather than thick layers, building coverage gradually.
- Keep your spray technique steady and steady your hand for even application.
- Proper surface preparation and understanding surface finishes can significantly improve adhesion and final appearance surface preparation. Additionally, understanding how visual cues can aid in monitoring your spray application helps achieve a more uniform coat. Paying attention to spray pattern can help you identify areas needing more coverage or touch-ups, ensuring a professional-looking result. Using a consistent spray technique can also minimize drips and uneven spots, leading to a more professional finish. Practicing your spray control on scrap material can help refine your technique before working on your actual project.
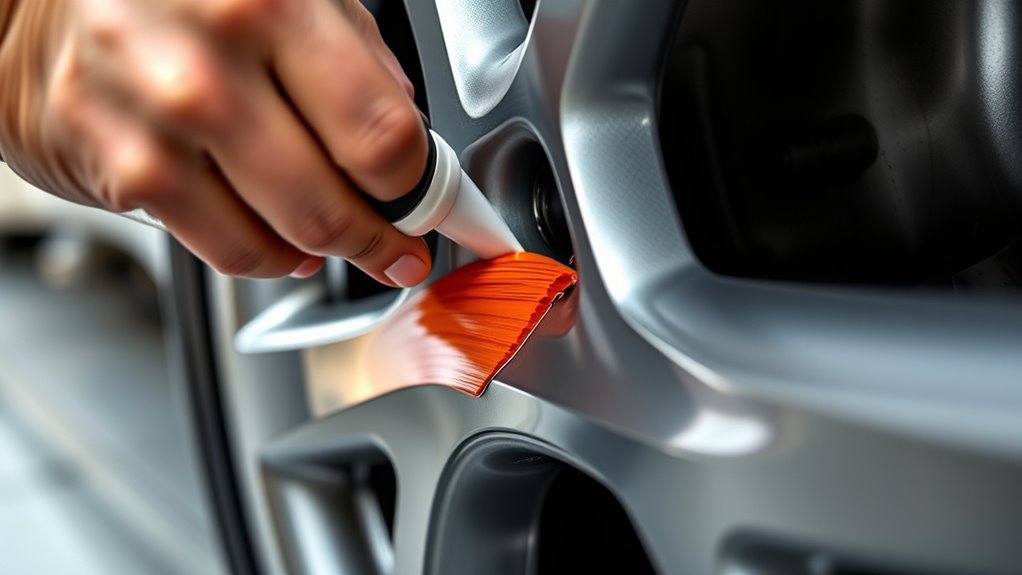
Removing or Touching Up Your Plasti Dip Finish
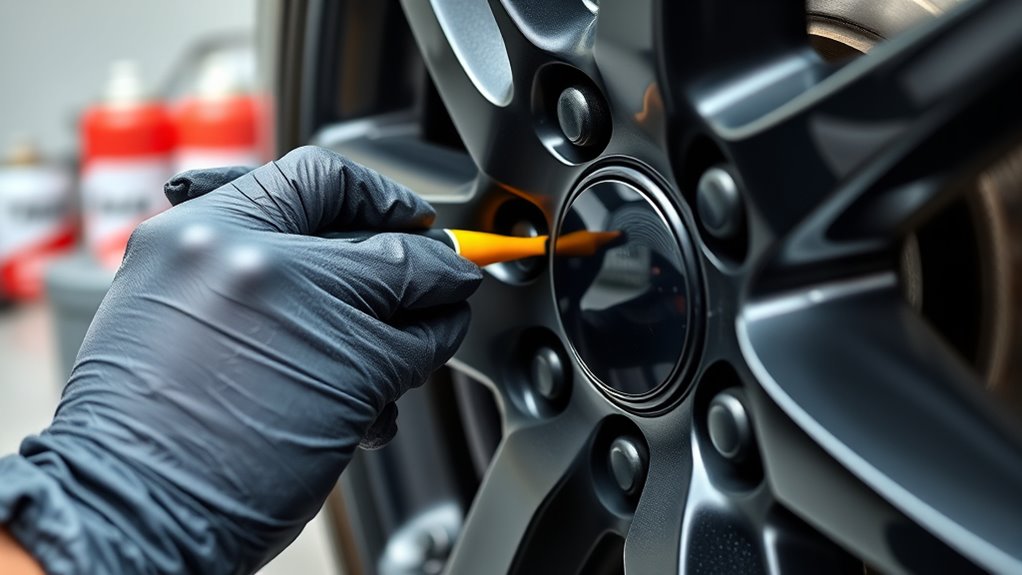
If you need to remove or touch up your Plasti Dip finish, acting promptly and carefully can save you time and effort. To remove paint, use a gentle solvent like isopropyl alcohol or a plastic-safe remover, avoiding damage to underlying surfaces. For touch-ups, clean the area thoroughly, then apply additional coats using proper touch-up techniques, such as feathering edges for a seamless finish. Ensuring proper surface preparation can also enhance the longevity of your touch-up work. Additionally, paying attention to ventilation considerations during application and removal can improve safety and results. Being aware of environmental considerations and practicing Leave No Trace principles can further promote a safe environment during your DIY projects. Recognizing the importance of professional guidance can also help prevent common mistakes and achieve a more polished finish.
Frequently Asked Questions
How Long Does Plasti Dip Typically Last Outdoors?
Plasti Dip usually lasts about 3 to 5 years outdoors, depending on UV exposure and weather durability. If you regularly expose it to sunlight, the UV rays can cause it to fade or peel sooner. To maximize longevity, apply multiple coats and consider a UV-resistant spray topcoat. Proper surface preparation and maintenance also help the dip withstand harsh weather conditions, keeping your project looking fresh longer.
Can I Apply Plasti Dip Over Existing Paint or Coatings?
Yes, you can apply Plasti Dip over existing paint or coatings, but proper surface preparation is key. First, clean and dry the surface thoroughly. Lightly sand it to ensure good adhesion, especially if you’re aiming for color matching or a smooth finish. This step helps the Plasti Dip adhere properly and prevents peeling. Remember, a well-prepared surface results in a longer-lasting, more professional-looking finish.
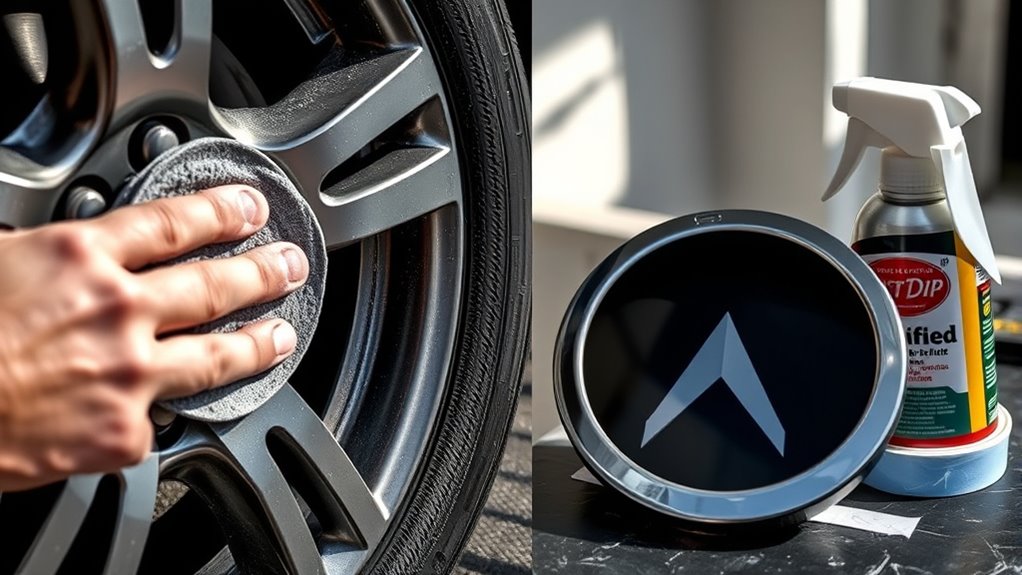
Is It Safe to Use Plasti Dip on Car Emblems?
You can safely use Plasti Dip on car emblems, and it’s a popular choice for a temporary upgrade. It offers good chemical resistance and adheres well if the surface is clean and dry. Just make certain it’s compatible with your emblem’s material by testing a small area first. This prevents peeling or damage, giving you confidence that your emblems will look great without harming the original finish.
What Environments or Weather Conditions Should I Avoid During Application?
You should avoid applying Plasti Dip in rainy weather or when temperatures are too extreme. Rain can cause drips and uneven coverage, ruining your finish. Extremely hot or cold conditions can influence how the product sticks and dries properly, leading to bubbles or cracking. For best results, choose a dry, mild day with moderate temperatures, ideally between 50°F and 85°F, to ensure a smooth, durable finish.
Can I Reuse or Reapply Plasti Dip After Removal?
Sure, you can reapply Plasti Dip after removal—just don’t expect it to be as easy as the first time. The reapplication process involves cleaning and prepping the surface again, while removal techniques guarantee you won’t damage the underlying finish. Keep in mind, multiple layers might make removal trickier later. So, go ahead, re-dip, re-apply, but be prepared for a slightly more stubborn finish next time!
Conclusion
Now that you’re armed with this DIY Plasti Dip guide, you’re ready to transform your wheels or emblems into a masterpiece. Think of it as giving your ride a fresh coat of personality—like a blank canvas coming to life. With patience and a steady hand, you’ll turn a simple project into a stunning upgrade that’s as eye-catching as a rainbow after a storm. So, go ahead—let your creativity shine through and make your ride uniquely yours!