
To apply carbon fiber or wood grain vinyl to interior trim, start by thoroughly cleaning the surface with alcohol to remove dust and grease. Measure and cut the vinyl to size, leaving some excess for edges. Use a squeegee to smooth out air bubbles and apply heat with a heat gun for curves and corners. Carefully trim excess vinyl for a seamless finish. If you follow these steps, you’ll achieve a professional look and learn helpful tips along the way.
Key Takeaways
- Measure trim accurately and purchase enough vinyl, including extra for mistakes or overlaps.
- Clean and prep the trim thoroughly to ensure proper adhesion of the vinyl.
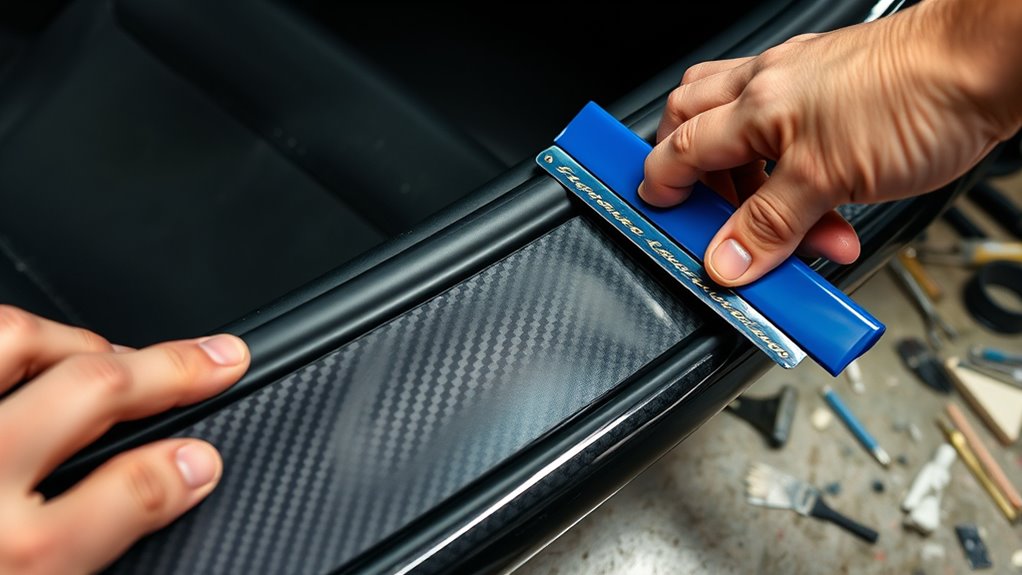
- Peel the backing gradually, applying vinyl from one end, smoothing with a squeegee, and working out air bubbles.
- Use a heat gun to soften vinyl around curves and edges for a seamless fit.
- Trim excess vinyl neatly with a utility knife for a professional, clean finish.
If you’re looking to refresh your home’s interior without expensive renovations, DIY interior trim wrapping offers a simple and cost-effective solution. It transforms ordinary trim into eye-catching accents using vinyl wraps like carbon fiber or wood grain patterns. Before you start, it’s crucial to focus on material selection and gather the right tool essentials, as these will determine how smoothly your project proceeds and how professional the final look turns out.
Refresh your interior with DIY trim wrapping using vinyl wraps like carbon fiber or wood grain for a stylish upgrade.
When choosing your materials, think about the environment where the trim is located. If it’s a high-traffic or humid area, opt for durable vinyl wraps that resist scratches and moisture. For a sleek, modern look, carbon fiber vinyl provides a textured, high-end appearance. If you prefer a warm, natural vibe, wood grain vinyl offers a classic aesthetic that mimics real wood. Make sure to measure your trim accurately before purchasing, ensuring you buy enough material with a little extra for mistakes or overlaps.
Once you’ve selected your material, gather your tool essentials. A sharp utility knife is crucial for clean, precise cuts. You’ll also need a squeegee or a plastic smoother to press out air bubbles and ensure the vinyl adheres smoothly to the trim. A measuring tape helps with accurate positioning, while a heat gun or hairdryer can be useful to soften the vinyl slightly, making it easier to conform to curves and edges. Clean your trim thoroughly with alcohol or a mild cleaner to remove dust, grease, or oils that could compromise adhesion.
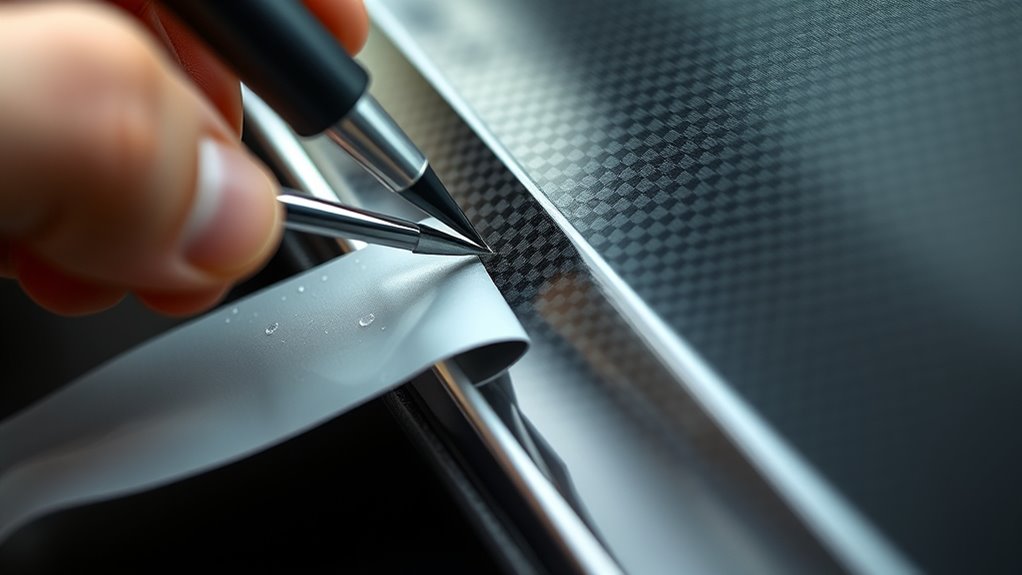
Applying the vinyl wrap begins with careful prep. Use painter’s tape to mask off surrounding surfaces, preventing accidental sticking or damage. Peel the backing from the vinyl slowly, exposing a small section at a time. Start at one end of the trim and press the vinyl onto it, smoothing as you go. Work steadily, pulling the backing away gradually while pressing the vinyl down with your squeegee. Be attentive to air bubbles—if you notice any, gently lift the vinyl and reapply, using the heat gun if necessary to make it more pliable. For corners and edges, slightly overhang the vinyl, then trim with your utility knife for a clean finish.
Achieving a professional-looking result also benefits from understanding proper application techniques, which can help avoid common mistakes and ensure a smooth, durable finish. With patience and attention to detail, you can achieve a professional-looking result that elevates your interior decor. Proper material selection and having the right tool essentials on hand make this project manageable and satisfying. In the end, you’ll enjoy a custom, stylish upgrade that doesn’t break the bank or require extensive renovation.
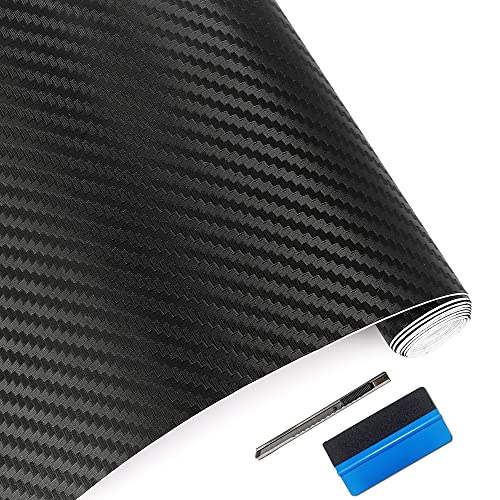
LZLRUN 3D Carbon Fiber Vinyl Wrap – Outdoor Rated for Automotive Use – 12 inches x 60 inches Contain Knife and Hand Tool (Black)
High Quality – Automotive grade premium high quality vinyl designed for wrapping vehicles and many other uses.
As an affiliate, we earn on qualifying purchases.
As an affiliate, we earn on qualifying purchases.
Frequently Asked Questions
What Tools Are Essential for Trimming Application?
You’ll need a sharp utility knife or precision scissors to trim excess vinyl neatly. A squeegee or felt roller helps smooth the adhesive and eliminate bubbles, ensuring good surface contact. For surface preparation, use isopropyl alcohol or a mild cleaner to remove dirt and oil. Choosing the right adhesive type is essential for a secure bond. These tools and steps help achieve a professional finish when applying your vinyl wrap.
How Long Does a Typical Wrap Last?
You’ll be pleased to know that your vinyl wrap can last anywhere from 5 to 7 years, depending on how well you care for it. Vinyl durability and wrap longevity hinge on proper application, exposure to sunlight, and maintenance. With regular cleaning and avoiding harsh chemicals, you can maximize its lifespan. When you take good care, your interior trim will look fresh and vibrant, making your investment truly worthwhile.
Can I Remove and Reapply the Vinyl?
Yes, you can remove and reapply vinyl, but removal might be tricky depending on how long it’s been applied. To do this, carefully peel back the vinyl without damaging the surface underneath. If some adhesive residue remains, clean it thoroughly before starting the reapplication process. Keep in mind, repeated removals can weaken the vinyl, making reapplication less smooth and more prone to bubbles or lift.
What Are Common Mistakes to Avoid?
You should avoid common mistakes like neglecting surface preparation and choosing the wrong adhesive. Make certain the surface is clean, dry, and smooth before applying the vinyl for better adhesion. Use the appropriate adhesive recommended for your vinyl type to prevent peeling or bubbles. Rushing the process or not smoothing out air bubbles can lead to wrinkles and imperfections. Take your time and follow proper prep steps for a professional-looking finish.
How Do I Clean the Surface Before Wrapping?
To guarantee proper surface preparation before wrapping, start by thoroughly cleaning the area using gentle cleaning methods like a mild soap and water or isopropyl alcohol. Remove dust, grease, and oils that can hinder adhesion. Use a microfiber cloth for wiping, and avoid harsh chemicals that might damage the surface. Make sure the surface is completely dry and free of debris before you proceed with applying the vinyl.

Decoroom Wood Contact Paper Peel and Stick, Thicken Vintage Wood Grain Contact Paper for Countertops Furniture, Natural Wood Wallpaper Self-Adhesive Removable Waterproof Vinyl Film 15.7 in X 118 in
[Natural Wood Grain Contact Paper ] 15.7 In x 118 In. Authentic wood wallpaper covers an area of…
As an affiliate, we earn on qualifying purchases.
As an affiliate, we earn on qualifying purchases.
Conclusion
Wrapping your interior trim with carbon fiber or wood grain vinyl is a cost-effective way to elevate your car’s look. With simple tools and patience, you can achieve professional results. Did you know that vinyl wrapping can increase your vehicle’s resale value by up to 10%? So, take your time, follow the steps carefully, and enjoy the satisfying transformation of your space. You’ll be surprised how a little effort can make a big impact!
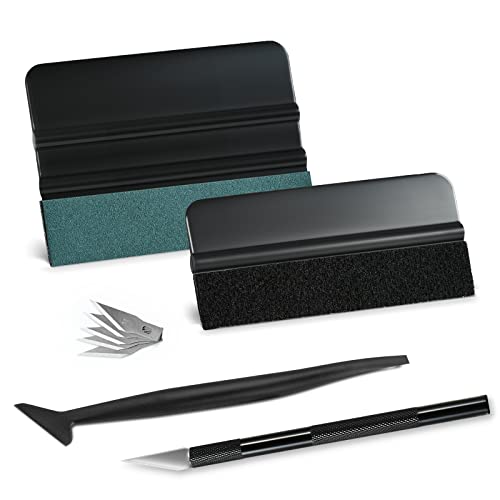
NEWISHTOOL Car Window Tint Installation Kit – Vinyl Wrap Tools With Felt Squeegee, Micro Squeegee, Razor Blade Knife
GREAT VALUE 9 IN 1 WINDOW FILM APPLICATION TOOLS: this window tint kit includes 2 kinds of vinyl…
As an affiliate, we earn on qualifying purchases.
As an affiliate, we earn on qualifying purchases.

SEEKONE Heat Gun 1800W Heavy Duty Fast Heat Hot Air Gun Kit with 752℉&1112℉(400℃-600℃) Dual-Temperature Settings and 4 Nozzles with Overheat Protection for Crafts, Shrinking PVC, Stripping Paint
⏩【Warm Tips】When using the heat gun for the first time, there will be smoke and burning odour, which…
As an affiliate, we earn on qualifying purchases.
As an affiliate, we earn on qualifying purchases.