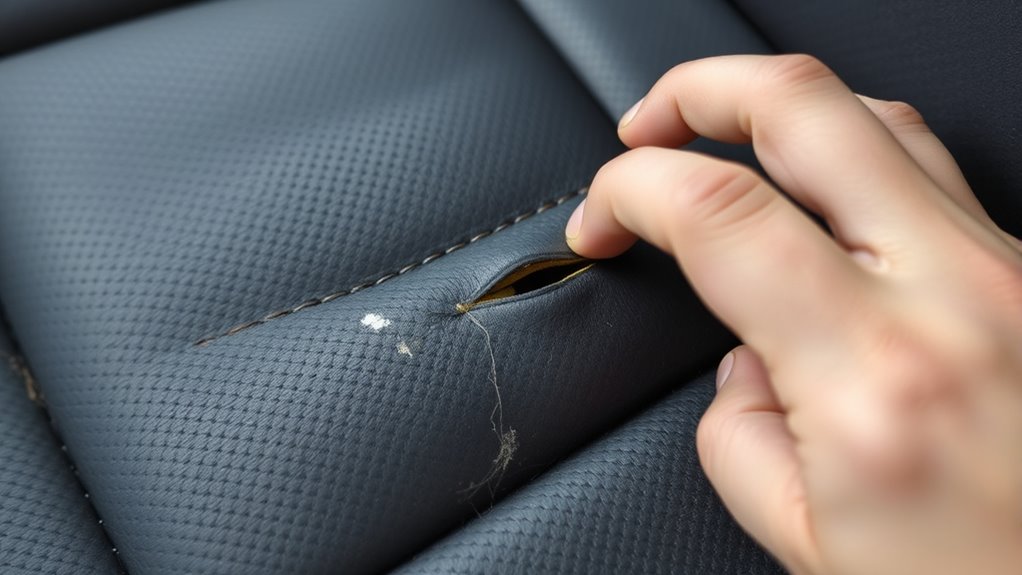
To fix small tears and burns in your car seats, start by inspecting and trimming damaged fabric. Apply a fabric adhesive around tear edges or patches, then press the fabric fibers together or attach a matching patch using clamps or weights until it dries. For a seamless look, use color-matching techniques like fabric pens or dyes, paying attention to texture and pattern. Keep in mind, proper prep and the right materials will help your repair look natural and last longer—if you continue exploring, you’ll find even more helpful tips.
Key Takeaways
- Clean and dry the damaged area, then trim any charred or frayed fabric before repairing.
- Use fabric adhesive to bond torn edges or attach patches securely around the damage.
- Cut fabric patches slightly larger than the tear or burn, and apply adhesive around the edges before pressing in place.
- Employ color-matching techniques such as fabric pens, dyes, or upholstery paint to blend repairs seamlessly.
- Clamp or weigh down the repaired area during drying, and select flexible, durable adhesives for a long-lasting, natural finish.
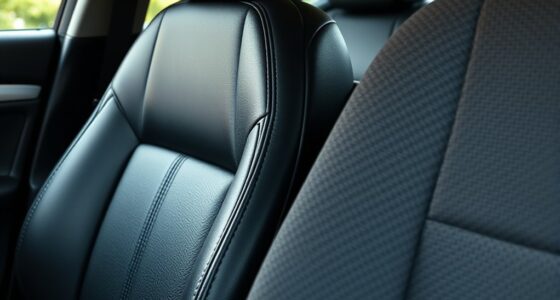
If your furniture has tears, stains, or worn fabric, tackling upholstery repairs yourself can save money and give your piece a fresh look. The same applies when fixing small tears or burns in your car seats. You don’t need to be a professional upholsterer—just some basic tools, patience, and a little know-how. To start, gather fabric adhesives designed specifically for upholstery. These adhesives create a strong bond and help you secure torn edges or patches seamlessly. When choosing fabric adhesives, look for ones that are flexible and durable, so the repair holds up under regular use.
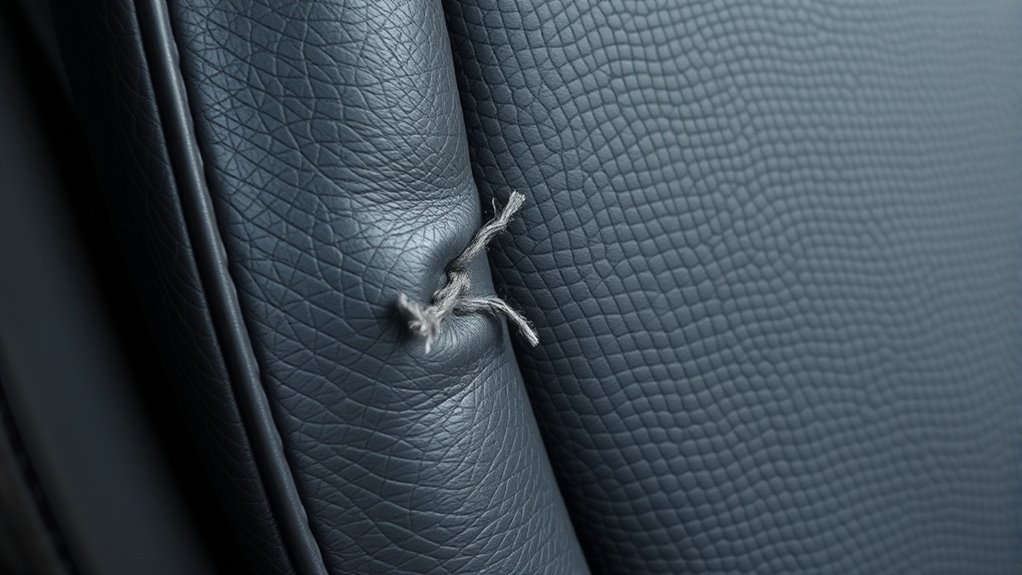
Color matching becomes essential when repairing small tears or burns. It’s *vital* to find fabric or thread that closely resembles your seat’s original color and texture. This way, your repair remains discreet and blends in naturally. You can take a small, hidden sample of the fabric to a craft store or use a fabric swatch to compare colors before applying anything to your seat. If you’re working with a burn, inspect the area carefully; sometimes, trimming away charred or frayed fabric is necessary before applying adhesive or patches. For tears, gently align the edges of the fabric, then apply fabric adhesives along the tear, pressing firmly to bond the fibers together. Use clamps or weight to hold the fabric in place until the adhesive sets, following the product’s drying instructions. Additionally, understanding fabric chemistry can help you select the most compatible adhesives and repair materials for your specific upholstery.
When patching larger tears or burns, consider using a fabric patch that matches your seat’s color and texture. Cut the patch slightly larger than the damaged area. Apply fabric adhesive around the edges of the patch and press it onto the seat, ensuring it sticks well underneath the torn fabric. To make the repair less noticeable, pay close attention to color matching and use a fine brush or applicator for precision. If the color isn’t an exact match, you can use fabric pens, dyes, or upholstery paint to blend the repair area more seamlessly.

3M Headliner & Fabric Adhesive, 18.1 oz., Exceptional Strength Bonds Heavyweight Automotive Fabrics to Metal Surfaces, For Bonding Headlines, Carpet, Foam and Others, Quick & Easy Application (38808)
Recommended for automotive headliners in vehicles.
As an affiliate, we earn on qualifying purchases.
As an affiliate, we earn on qualifying purchases.
Frequently Asked Questions
Can I Repair Large Tears Myself or Should I Seek Professional Help?
You should seek professional help for large tears instead of DIY repairs. DIY upholstery fixes are suitable for small tears and burns, but large tears require specialized tools and skills. Although professional repairs cost more, they guarantee durability and seamless appearance. The cost comparison favors professionals for big damage, saving you time and potential rework. Trust experts to restore your car seat effectively, avoiding the pitfalls of a DIY fix that might not last.
What Types of Fabric or Leather Are Best for DIY Upholstery Repairs?
You should choose fabric compatible with your seat’s original material or opt for high-quality leather for a seamless match. When selecting fabric, look for similar texture and durability to guarantee easy repair and longevity. For leather, pick a matching color and finish to blend well. Always test small areas first to confirm compatibility, making your DIY upholstery repair more successful and less noticeable.
How Long Does a DIY Repair Typically Last Before Needing Rework?
Your DIY repair typically lasts between 1 to 3 years, depending on repair durability and how well you uphold it. To extend its life, follow maintenance tips like avoiding harsh cleaning agents and minimizing direct sunlight. Regularly inspect the repaired area for wear and tear, and touch up small issues promptly. Proper care ensures your repair stays intact longer and maintains the appearance of your car seat.
Are There Specific Tools Recommended for Repairing Different Types of Upholstery?
You’ll want specialized tools like upholstery needles, fabric glue, and patching kits for different upholstery types. For leather, use adhesion techniques with leather repair adhesives, while fabric might require heat-activated adhesive or patching materials. These tools guarantee a strong, lasting repair. Always follow manufacturer instructions for adhesion techniques, and choose the right tools based on your upholstery material to achieve the best results and extend the repair’s lifespan.
How Can I Prevent Future Tears or Burns in Car Seats?
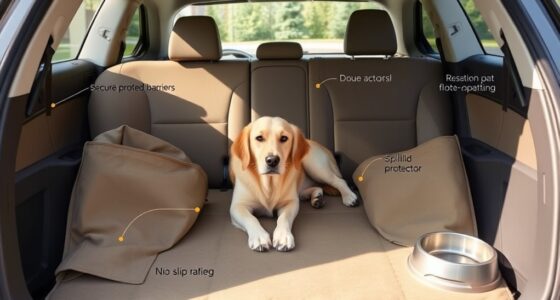
Protect your precious passenger seats by preventing punctures and burns. Use protective covers to shield seats from sharp objects and spills, ensuring safety and style. Installing sunshades keeps seats shielded from scorching sun, reducing the risk of burns and fading. Regularly inspect and maintain these measures, making sure they stay snug and secure. Simple steps like these safeguard seats, saving you time and trouble on repairs down the road.
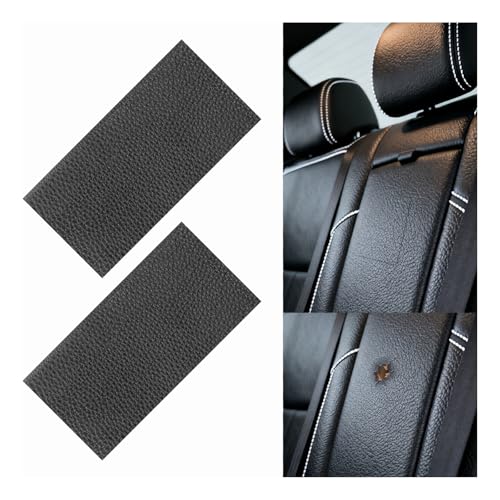
YGDMD 2PCS 8×4 Inch PU Leather Patch for Car Seat Repair,Self-Adhesive Leather Repair Patch Tape Vinyl Repairs Kit,Portable Car Leathers Repairs Kit for Cars Upholstery Seat,Furniture
Scratch Repair: Long-term use of car seats may produce scratches and wear and tear, car leather repair kit…
As an affiliate, we earn on qualifying purchases.
As an affiliate, we earn on qualifying purchases.
Conclusion
Now that you’ve learned how to fix small tears and burns, you’re like a skilled artist restoring a masterpiece. Imagine your car seat as a canvas—each repair a brushstroke that brings it back to life. Just like a painter’s touch preserves their work, your careful handiwork keeps your car looking fresh and inviting. With patience and practice, you’ll turn what once seemed a blemish into a tribute of your craftsmanship, leaving your car’s interior looking flawless.

Dupli-Color HVP106 Vinyl and Fabric Coating Spray Paint – Flat Black – 11 oz Aerosol Can
VEHICLE INTERIOR SPRAY PAINT – Dupli-Color Vinyl and Fabric Spray Paint is a high-quality and fast-drying paint that…
As an affiliate, we earn on qualifying purchases.
As an affiliate, we earn on qualifying purchases.

GOOACC 5 PCS Nylon Auto Trim Removal Tool Kit No-Scratch Removal Tool Kit for Car Panel & Audio Dashboard Dismantle Red
Nylon Material: Made of impacted resistant nylon fiber material with high level craftsmanship, it’s non-toxic, durable and not…
As an affiliate, we earn on qualifying purchases.
As an affiliate, we earn on qualifying purchases.