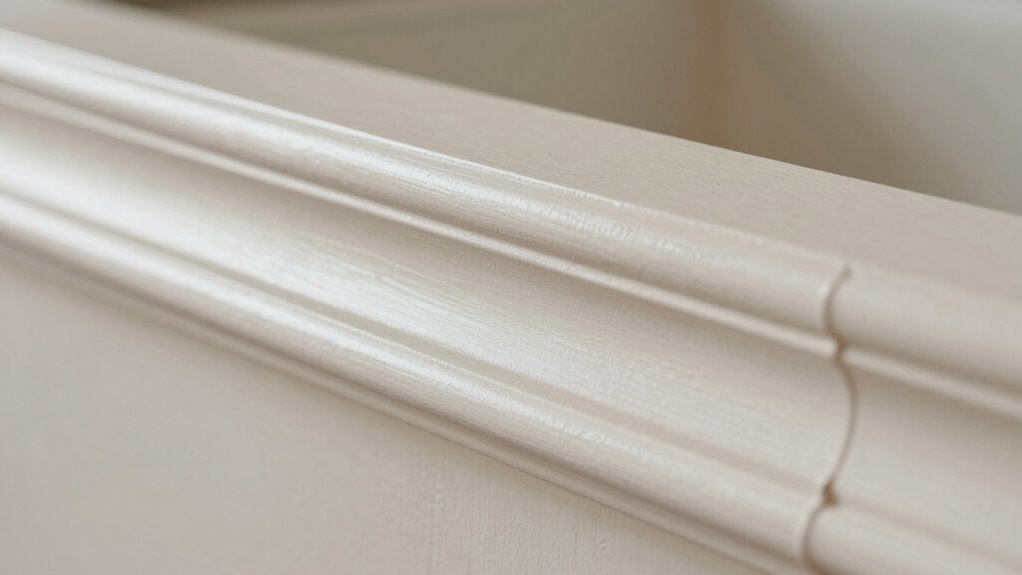
To avoid a patchy look when restoring trim, start by thoroughly prepping the surface—removing dust, grease, and loose paint and sanding smoothly. Use high-quality brushes or rollers, applying thin, even coats and blending each stroke while wet. Be patient by letting each coat dry fully before applying the next, and work in good lighting to see imperfections. For more tips on achieving a flawless finish, keep going to learn additional techniques.
Open a free Amazon Business account
Business pricing, bulk buying and tax-exempt orders.
As an affiliate, we earn on qualifying purchases.
Key Takeaways
- Prepare the surface thoroughly by sanding and cleaning to ensure proper paint adhesion.
- Use high-quality brushes or rollers suited for trim to achieve smooth application.
- Apply thin, even coats and blend each stroke while the paint is wet to prevent streaks.
- Follow recommended drying times between coats for a uniform finish.
- Evaluate the work under different lighting conditions to identify and fix imperfections early.
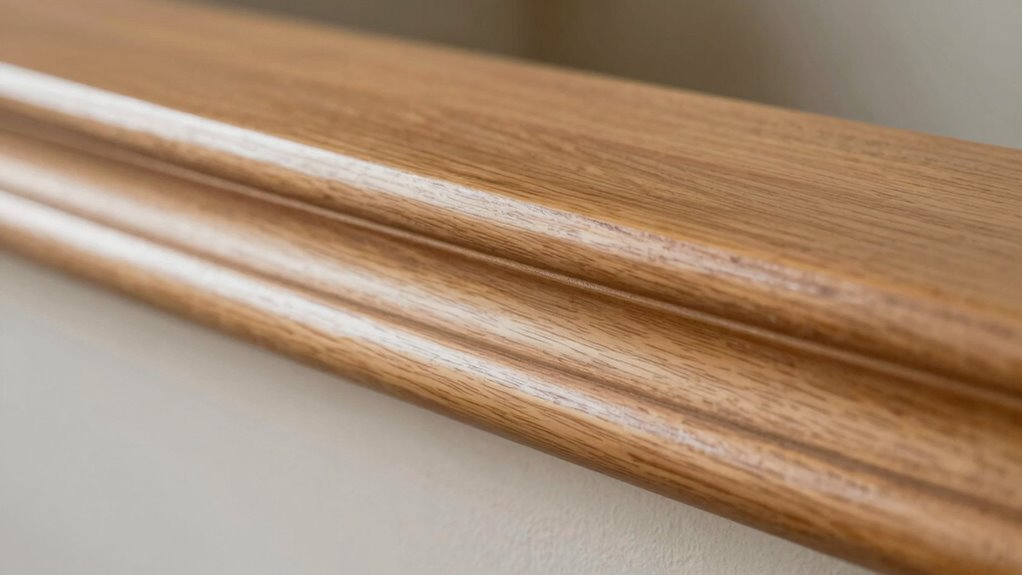
Restoring trim can dramatically enhance your space’s appearance, but achieving a smooth, even finish requires careful preparation and technique. One of the most common issues during this process is ending up with a patchy or uneven look, which can detract from the overall aesthetic. To avoid this, start with proper surface preparation. Make sure the trim is free of dust, dirt, grease, and loose paint. Use a scraper or sandpaper to remove any peeling or flaking paint, and sand the surface lightly to create a smooth, matte finish. This step guarantees that the new paint or stain adheres evenly and reduces the risk of blotches or streaks. Also, if there are any dents or holes, fill them with a high-quality wood filler, then sand smooth once it dries. A well-prepared surface is the foundation for a flawless finish. Paying attention to surface preparation can significantly influence the final outcome. Proper surface prep not only improves adhesion but also minimizes the need for multiple coats, saving you time and effort.
Color matching plays an essential role in achieving a professional look. If you’re repainting or staining, select a color that closely matches the existing trim or the surrounding wall color. When mixing paints, try to use the same brand and type to maintain consistency. If you’re blending a new color with existing paint, test it on a small, inconspicuous area first. This test allows you to see how the color looks once dry and helps prevent mismatched patches. Keep in mind that many paints dry darker or lighter than they appear when wet, so always look at the color in different lighting conditions before committing to a full coat.
Proper application techniques also matter. Use high-quality brushes or rollers suited for trim work, and avoid overcrowding your brush with paint to prevent drips and uneven coverage. Apply thin, even coats and work in manageable sections, blending each new stroke into the previous while the paint is still wet. This technique minimizes lap marks and streaks. Be mindful of drying times; rushing the process can lead to inconsistencies. If you need to apply multiple coats, let each coat dry thoroughly before adding the next. Additionally, understanding how contrast ratio impacts the final appearance can help you choose the right finish and lighting to showcase your work effectively. Paying attention to lighting conditions can also reveal imperfections that might not be visible under artificial light. Proper lighting is crucial for an accurate inspection, so take your time to evaluate your work under different conditions. To further ensure a seamless result, consider using quality tools designed specifically for trim painting.
high-quality paint brushes for trim
As an affiliate, we earn on qualifying purchases.
As an affiliate, we earn on qualifying purchases.
Frequently Asked Questions
What Types of Paint Are Best for Trim Restoration?
For trim restoration, you should choose high-quality, semi-gloss or gloss latex or oil-based paints. These types provide durability and a smooth, shiny finish. To guarantee a seamless look, focus on color matching closely with existing trim. Additionally, selecting the right primer helps with adhesion and prevents patchiness. Use a primer suited for your trim material, and always prep the surface thoroughly for the best results.
How Long Should Paint Dry Between Coats?
Ironically, rushing paint dry time might seem tempting, but it’s best to wait. You should let the paint dry for at least 2-4 hours between coats, depending on the product’s instructions. During this time, focus on color matching and maintaining the right paint sheen to make certain of a smooth, even finish. Patience here guarantees a flawless look, avoiding the patchy, uneven results that come from rushing or skipping steps.
Can I Use a Brush or Roller for Better Results?
You can use either a brush or roller for your trim, but choosing the right tool depends on your desired finish. For precise brush techniques, opt for a high-quality, angled brush to reach corners and create smooth lines. If you prefer faster coverage, a small roller with a fine nap can give an even coat without streaks. Always select a roller suited for trim or smooth surfaces to achieve the best results.
What Are Common Mistakes That Cause Patchiness?
You might create a patchy look if you neglect proper surface preparation or fail to match the color precisely. Make certain the surface is clean, smooth, and free of old paint or debris before painting. Poor color matching can make patches stand out, so test your paint in a small area first. Using consistent brush or roller techniques also helps blend the paint evenly, reducing the risk of patchiness.
How Do Environmental Conditions Affect Paint Application?
Environmental factors greatly influence paint application, so you need to be mindful. Temperature control is vital; too hot or cold, and paint may peel or peel unevenly. Humidity can hinder drying and cause streaks or splotches. Wind can blow dust onto wet paint, creating imperfections. For best results, choose a mild, stable climate, work in dry conditions, and avoid direct sunlight to guarantee smooth, seamless paint application without patchiness.
paint roller for detailed trim work
As an affiliate, we earn on qualifying purchases.
As an affiliate, we earn on qualifying purchases.
Conclusion
To keep your trim looking smooth and uniform, always prep properly and apply paint or stain evenly. For example, Sarah once skipped sanding her trim, leading to patchy spots that took extra coats to fix. By taking the time to sand, clean, and use quality brushes, you can achieve a flawless finish on your first try. Remember, patience and preparation are key to avoiding that uneven, patchy look—your trim will thank you!
As an affiliate, we earn on qualifying purchases.
As an affiliate, we earn on qualifying purchases.
NFL season / tailgating Picks
team gear
As an affiliate, we earn on qualifying purchases.